Intro
In the previous video, we customized our site developed with Astro. It is now ready to be put into production. Shall we upload it to Vercel?
Here are two important topics:
- One is to perform the initial configuration of the project in Vercel.\
- Another, since we are working in SSG mode (that is, we build the site at deployment time and serve static HTML and CSS), is how to make sure that when we publish new content on Content Island, a new deployment is automatically triggered.
If you prefer, in this video we explain step by step how to do it.
Let's see how to do this step by step.
Uploading to Github
The first step to be able to deploy is to have the project on GitHub. For this:
We create a repo on github, go to the Repositories section

And click the New button.

We will name our repository my-site.

To show you that we can create it for both public and private repositories, we will create it as private.
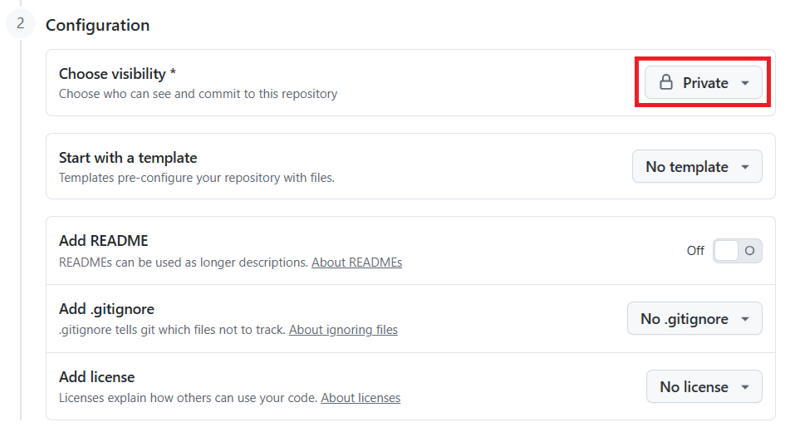
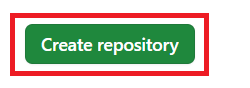
And click the Create repository button.
On the main page, we copy the repository URL.

We go to our local project, stop the execution, and initialize a Git repository in our project folder:
git init
We add the new changes:
git add .
We commit:
git commit -m "uploading all files"
We link the local repository with the remote:
git remote add origin

We create the main branch:
git branch -M main
And we push:
git push -u origin main
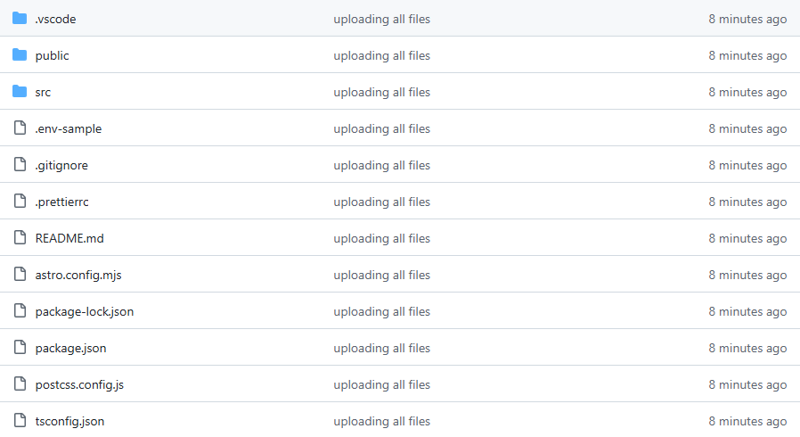
If we go to our repository and refresh, we can see that the code is already uploaded.
Deploying on Vercel
We navigate to Vercel. If you don't have an account, you can create a free one.
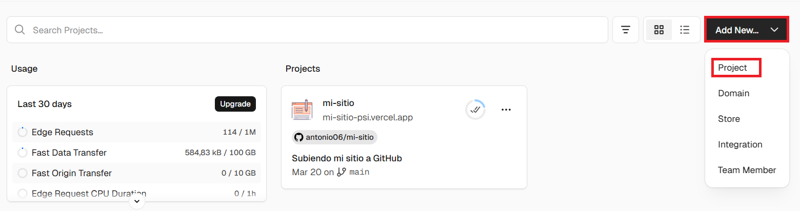
We click on Add New... → Project.
If this is the first time you use Vercel, it will ask you to choose the platform where your repositories are, whether GitHub, Bitbucket, or GitLab.
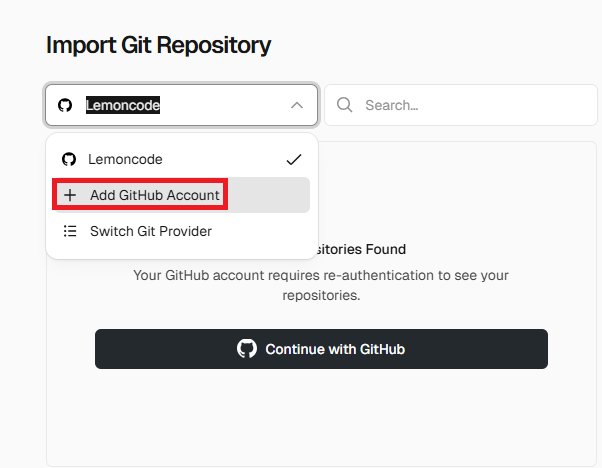
We select our account.

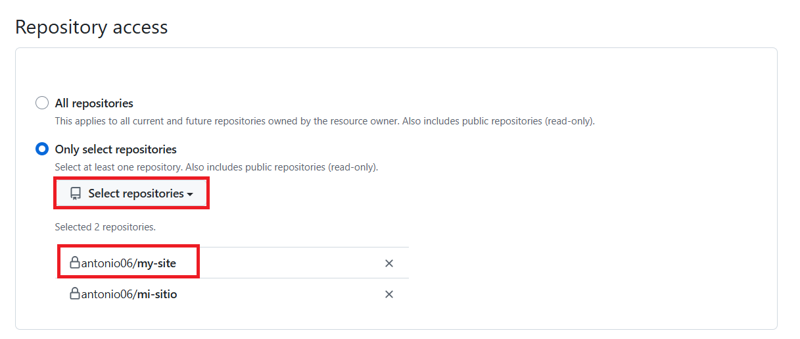
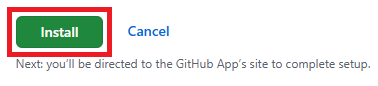
If this is the first time we integrate GitHub with Vercel, we will have to give permission. We indicate only the repository we are going to work with (mi-sitio). It is a good idea, for security, not to give permission to all repositories, but only to those we will use.
We install.
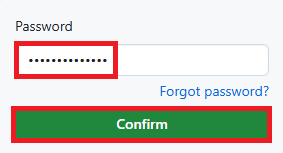
And confirm our password.
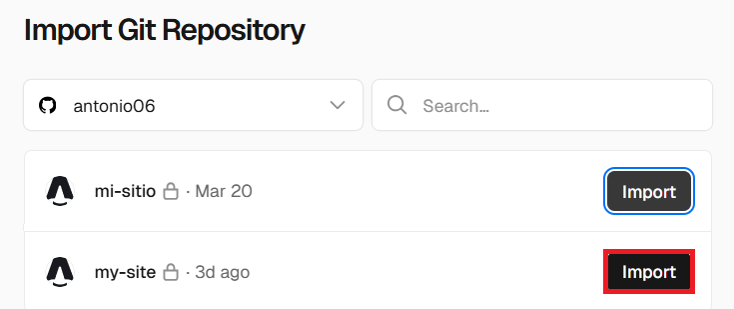
Here we already have our site. Now we click on Import.
Vercel automatically detects that it is an Astro project and preconfigures the build commands and output folder. We can also configure it if we need to make any adjustments.
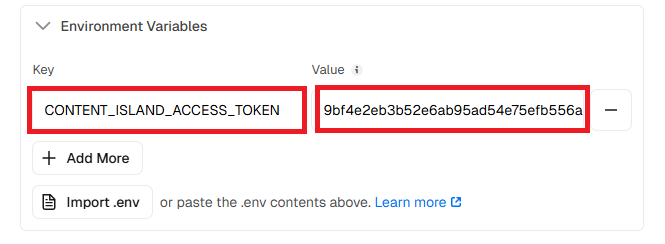
IMPORTANT: In our case, we need to configure the environment variable CONTENT_ISLAND_ACCESS_TOKEN with the API Key we generated in Content Island so that Vercel can access our content.
We go to our project in Content Island and copy the value of our token.

And add it as a variable in Vercel. Note: do not share this token with anyone.
And click on Deploy.

If we wait a moment, our site will be deployed.

We click Continue to Dashboard.

And here we can see that our domain has been generated.
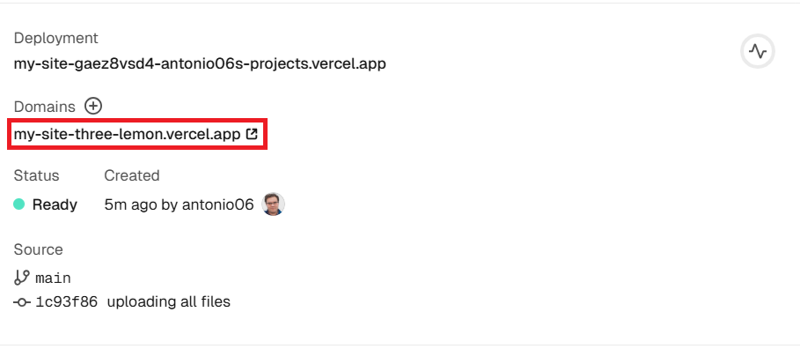
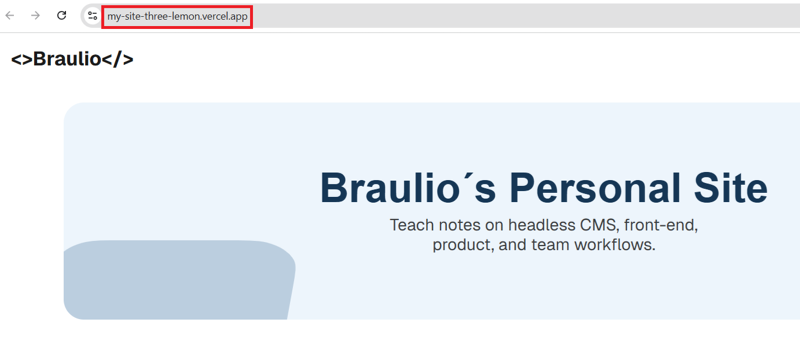
If we click on the project image, we are live. In my case, with a domain like .vercel.app.
You can also have a custom domain; in this post from Vercel they explain how to do it.
Configuring the webhook in Content Island
Everything is great, but... we want that when we publish new posts, they are automatically reflected on our website.
For this, we are going to configure a webhook that allows Content Island to notify Vercel that it must trigger a new deployment when content is published.
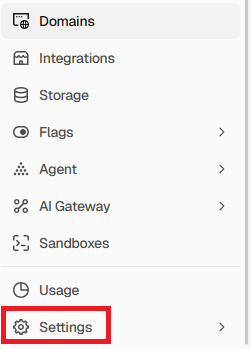
We go to the settings of the Vercel project.
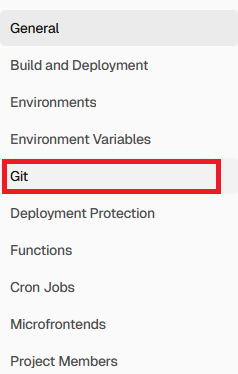
We choose Git in the sidebar.
In Deploy Hook, we give the webhook a name (for example, Content Island Deploy), select the branch (main), and click on Create Hook.
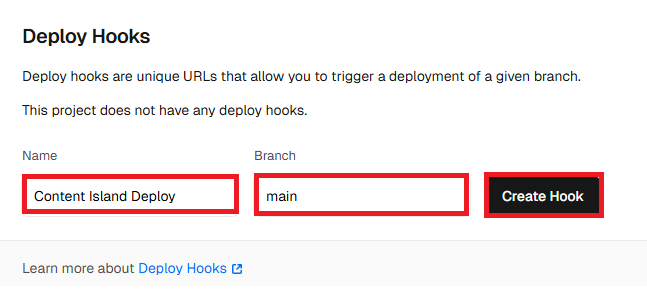
This will give us a webhook URL.

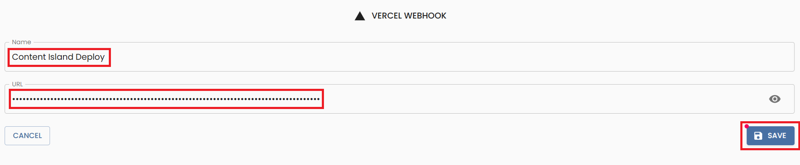
Now we go to the Content Island project and, in the webhooks tab, create a new Vercel webhook.

We give it a name, paste the webhook URL, and save.
We go back and check that it has been created correctly.

From now on, every time we publish new entries in Content Island, a new deployment will be automatically triggered in Vercel and our website will be updated with the latest content.
Testing the webhook
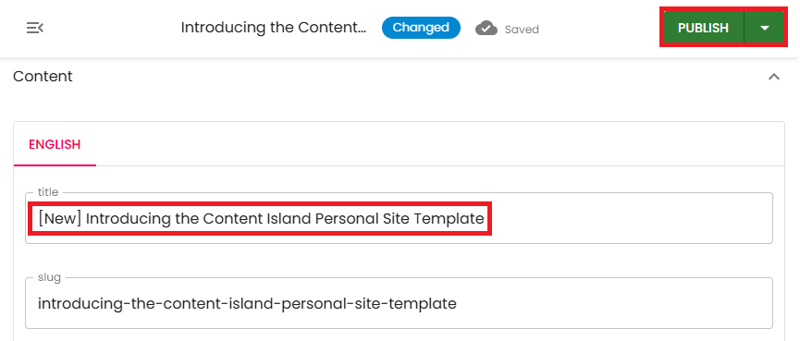
Let's do a test...
We change the title of a post and publish it.
If we go to the Deployments tab in Vercel, we will see that a new deployment has been automatically triggered.

If we wait a bit, you can see that the site has been updated with the new post title.

If we go to vercel, we see that the website has been updated.

And from now on, you only have to worry about creating good content in Content Island. The rest happens automatically.