Intro.
In this post we’ll show you how to generate from scratch the complete your personal site template using Astro + Content Island. It includes the entire project structure, components, and the configuration needed to quickly create your personal site or blog using modern technologies.
Personal site template.
I’m going to introduce the your blog template, where you can publish your posts, open them in detail, go back, show information about your profile, and even theme it to your liking.
All of this in a very simple way. In this post we’ll walk through it, and you can also watch this video on how it works. Shall we get started?
Creating the Astro project.
We’re going to create a project in Content Island (if you don’t have an account, you can create a free one at contentisland.net).
Click Add Project.

Give it a name: myblog. Tell it to start from a template.
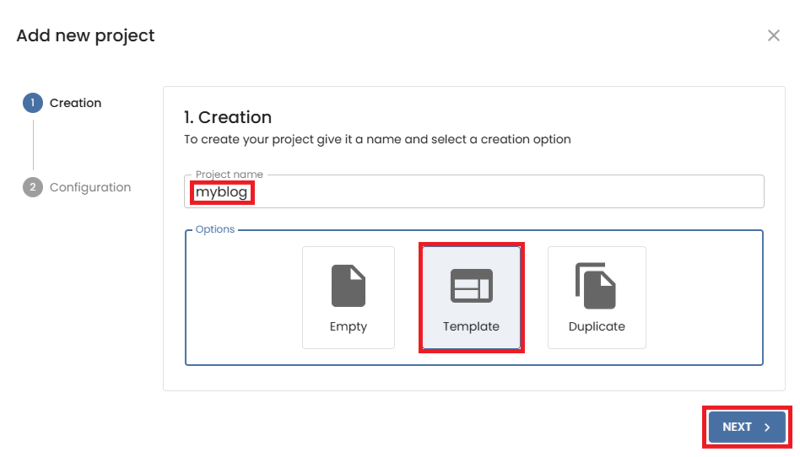
Choose the Personal site template.

And click Complete.

Once it’s generated, we have the templates available: General, Model, Content, WebHook if we ever need them. But the one highlighted first is Quick Start, which gives us the instructions to create our project from Visual Studio Code.
Let’s copy the command to create the project.
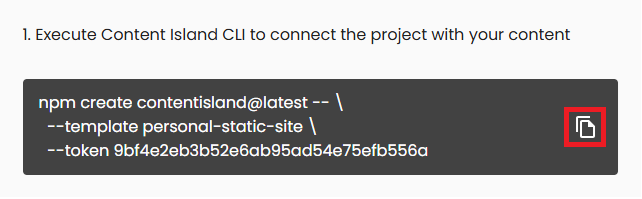
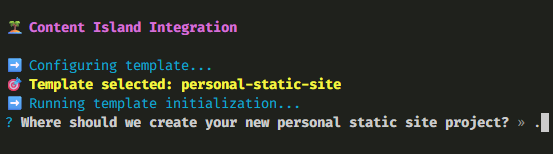
Open VS Code and run the command — this will launch the content island CLI.

This tool will ask us a few questions to configure it.
For the destination path, in our case the project folder is empty, so we tell it to create the project in the current folder (type a dot).
Install dependencies.

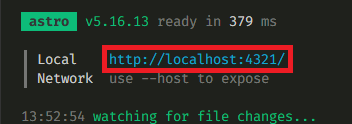
And now we just need to run npm run dev to start the development server and view the project in the browser.
At this point you might think: everything’s great… but I want to see my posts, my info…
Customizing the header.
Let’s start with the header — we’ll change the Jwd text to my name.
To do that, go to the Content tab, switch to tree view, and look for the Header entity.
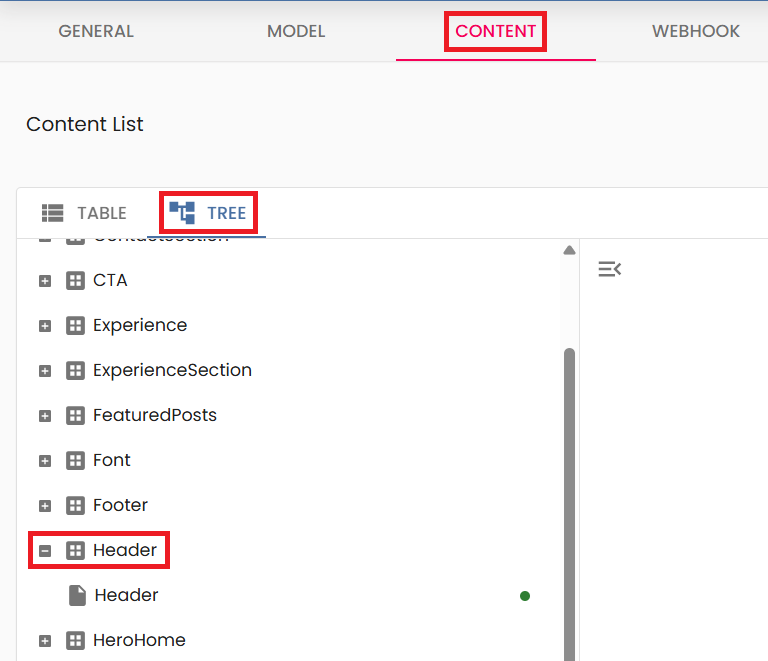
You might see lots of entries and it may be hard to know what each one does. In Content Island’s documentation, in the templates section, you’ll find a map and an explanation of what each entity is for.
Back to Header, click it and you’ll see in logo the text we want to change.
Logo
<>Braulio</>![]()
Publish.
If we go back to our site and refresh, we can see the updated name.
![]()
Now we need to cover the mini bio section.
Customizing the Hero section.
Let’s start with the top header area: filter by HeroHome and fill in:
title
Braulio's Personal SiteDescription
Tech notes on headless CMS, front-end, product, and team workflows.
Publish and test it.
And here we have the changes in the Hero section:

Now we need to cover the mini bio section.
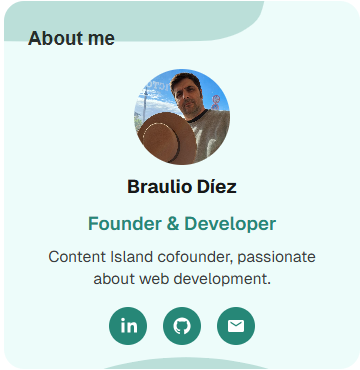
Customizing the mini bio.
Here we’ll update the fields name, role, description, and image, image alt.
Name
Braulio DiezRole
Founder & DeveloperDescription
Content Island cofounder, passionate about web development.
For the photo, I delete the existing one and add a new one (we can select an image from the file explorer, or drag & drop).
alt
Portrait of Braulio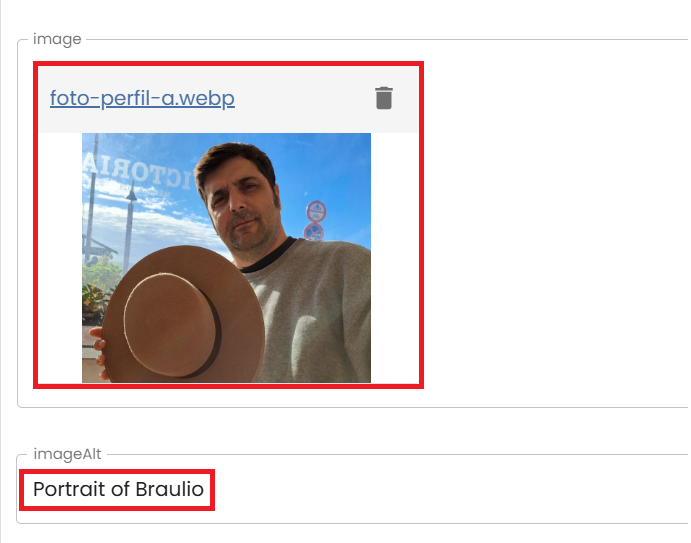
To see the changes, very important: click the publish button.
Go to our website, refresh, and now we see the change.
We can see we have a contact section that links to LinkedIn, GitHub, or an email address. But they’re generic — I want to put mine.
Go to the ContactSection.

Here you can see a list with the different entries we have. Let’s modify them.
mailto:braulio.diez@lemoncode.net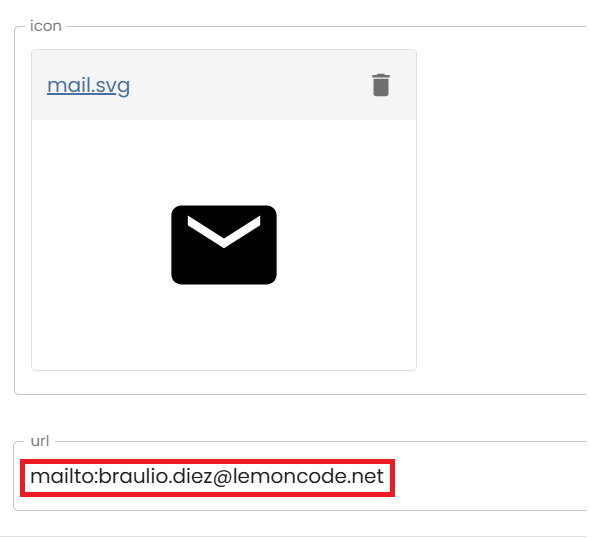
Github
https://github.com/brauliodiez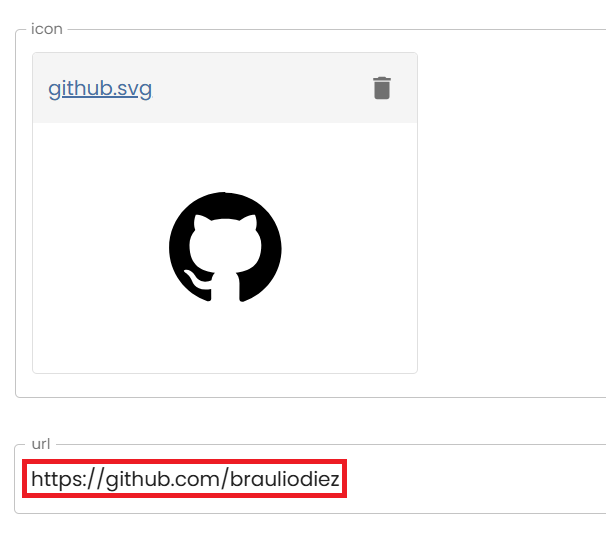
https://www.linkedin.com/in/brauliodiez/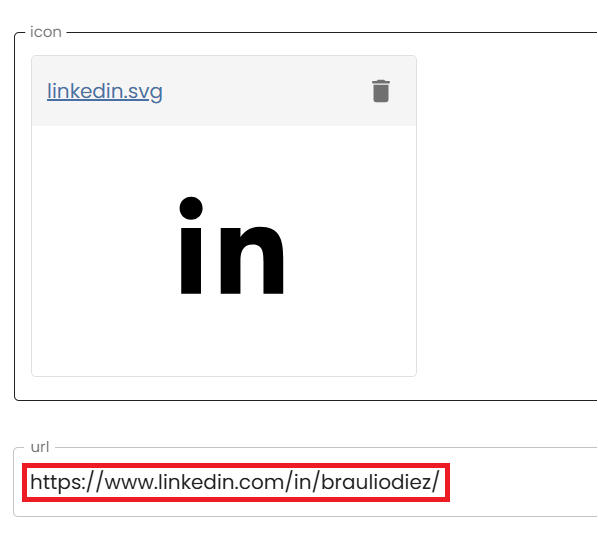
If you notice, we made changes in several instances, so we’d have to save one by one. For this kind of change it’s easier to use Bulk Publish.

Click it, and you’ll see the pending changes to publish.

If we go to our website and refresh, we’ll see the links are now associated with my accounts.
Customizing the monthly recommendation section.
Let’s go for the “recommendations of the month” section. Back to Content Island.
Description
🏝️ Content Island BloglinkLabel
contentisland.netlinkUrl
https://contentisland.net/en/blog/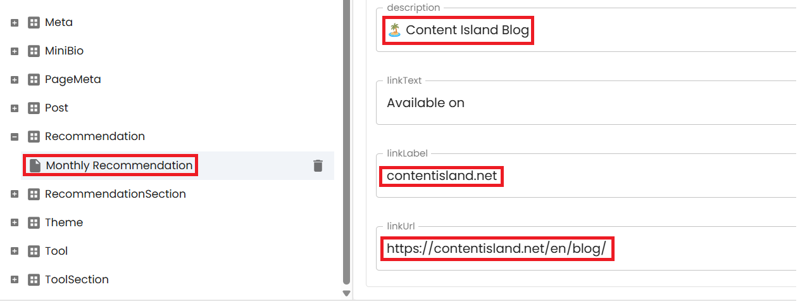
Publish.
Refresh and you’ll see the updated changes.

Next would be the “featured posts” section, but we’ll leave it for later — because what we’ll do is delete all posts and create our own.
Customizing the Call To Action.
If we scroll down, we have the Call to Action. Let’s configure it.
DescriptionTwo
Send me your suggestion to: braulio.diez@lemoncode.net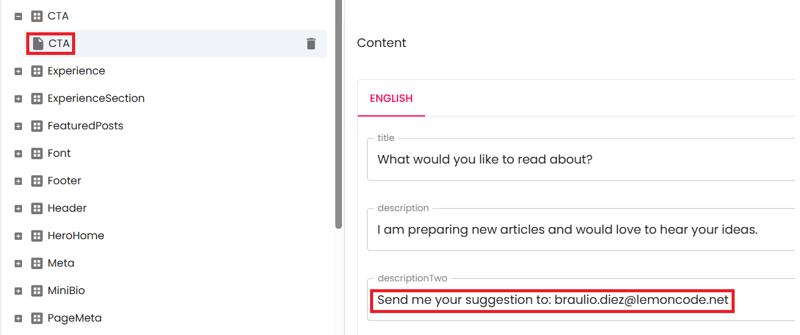
Publish.
Refresh and we’ll see the changes.

Customizing the Footer.
And to complete the secondary info part (posts still missing), we have the footer.
logo
<>Braulio</>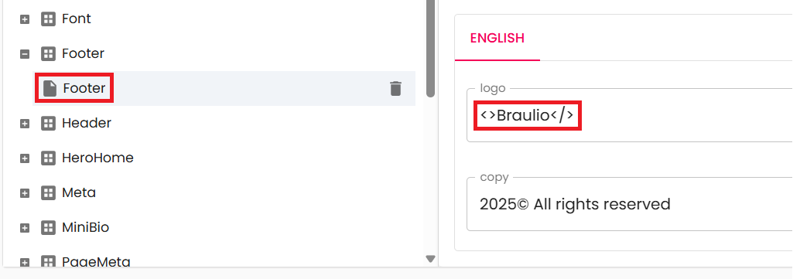
Publish again.
Go back, refresh, and you’ll see the changes.

The contact section is the same one we modified earlier, so it keeps those same values.
Creating a post.
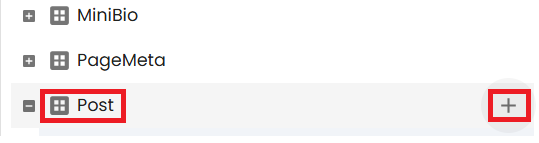
Now let’s go for the core of our site: posts.
In Content Island, search for “Posts” and delete the ones that are there.

Notice that when deleting, it warns me if that instance is being used somewhere else. In this case it’s telling me that by deleting this post, I’m also deleting related data.
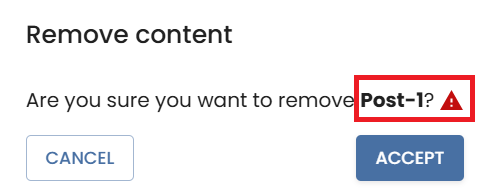
Delete until the collection is empty.
Let’s create the first post:
Name
Introducing the Content Island Personal Site TemplateTitle
Introducing the Content Island Personal Site Template
slug
introducing-the-content-island-personal-site-templatedate
18/11/2025summary
Welcome to the Content Island personal site template --- a fast, flexible way to spin up your own personal website, complete with a blog and bio section.
Add a header image.
readTime
5 min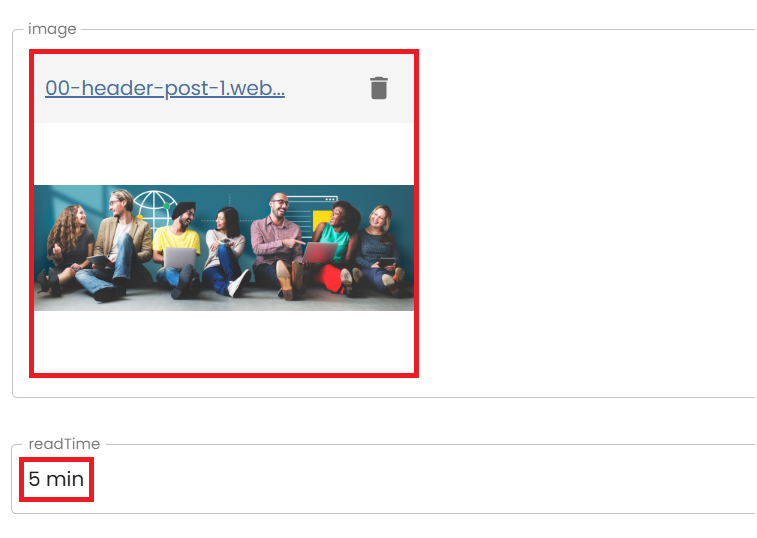
And in the content field, put:
# Introducing the Content Island Personal Site Template

Welcome to the **Content Island personal site template** --- a fast, flexible way to spin up your own personal website, complete with a blog
and bio section.

This template is built with **Astro** and powered by **Content Island** as the headless CMS, making it incredibly easy to edit, customize, and scale your content.

## Why This Template?

This template is designed to give you a solid starting point for a
modern personal site.

Whether you want to publish technical posts, document processes, or simply share your work, everything is already wired and ready.

## Features

- **Easy to customize** -- Update content and structure directly from Content Island.
- **Modern design** -- Clean, responsive, and developer-friendly.
- **Astro-based architecture** -- Fast, lightweight, and SEO-friendly.
- **Headless CMS workflow** -- All your content is stored and managed in Content Island.
- **Built with best practices** -- Sensible defaults and extensible patterns.

## Getting Started

1.  **Create a new project from the template** inside Content Island.

2.  **Use the Content Island CLI** to scaffold your local environment:

    ```bash
    npx content-island init
    ```

3.  Install dependencies and start the development server:

    ```bash
    npm install
    npm run dev
    ```

4.  Start customizing your pages, writing posts, and tweaking components to match your personal style.

## What You Can Build

With this template, you can easily create:

- A personal bio or portfolio
- A blog for technical posts, product insights, or process
  documentation
- A lightweight, clean, and fast personal site you can extend over
  time

## Final Thoughts

This template aims to give you a simple yet powerful foundation for your personal site.

Customize it, break it, rebuild it --- make it yours. And with Content Island handling your content, managing your site stays smooth and effortless.

Happy building!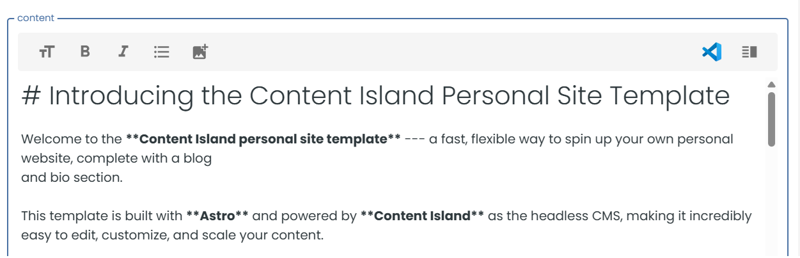
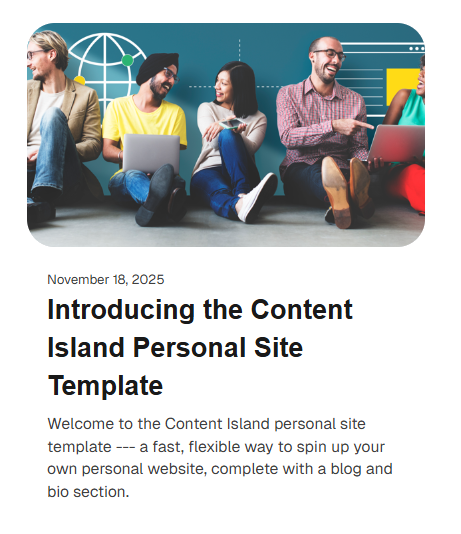
Click the publish button.
Go to the site, refresh, and here’s our first post.
Add a second post.
name
Hello Content Islandtitle
Hello Content Islandslug
hello-content-islanddate
20/11/2025summary
Getting started with Content Island, the headless CMS designed for modern web development.Add a header image.
readTime
5 minscontent
# Introducing the Content Island VS Code Extension

Developers spend most of their day inside **Visual Studio Code** — writing, refactoring, structuring, and shaping the backbone of their projects. So when it comes to editing Markdown or MDX content stored in **Content Island**, switching back and forth between the browser and the editor can break your flow.

We wanted to fix that.

Today, we’re excited to introduce the **Content Island VS Code Extension**, a simple but powerful bridge between your content workspace and your favorite editor.

## Why Bring Content Island Into VS Code?

Because your content is part of your codebase.

Whether you’re maintaining a documentation site, editing product guides, iterating on MDX components, or collaborating with teammates, having your content available _directly inside the editor_ is a huge productivity gain.

No more copy–paste.
No more hunting for files.
No more switching tabs.

Just open, edit, push — all in the place where you already think and build.

## How It Works

The extension adds a seamless workflow between Content Island and VS Code.

### 🔗 Open Markdown & MDX Fields From Content Island

Any field stored as Markdown or MDX now displays a **VS Code icon**. Click it, authorize the connection once, and the document instantly opens in VS Code.

### ✏️ Edit With Full Editor Power

Use your preferred theme, plugins, snippets, Copilot, shortcuts — the full editing experience you know and love.

### 🚀 Push Changes Back to Content Island

Once you finish editing, hit **Push** from the command palette or the sidebar. Content Island detects the change and updates the field automatically.

### 📚 Optional Sidebar for Frequent Documents

Pin frequently used documents, pull the latest version, push updates, and organize your workflow from a dedicated sidebar.

It feels natural because it _is_ natural.

## Designed for Developer Flow

We built this extension with a simple goal: **keep you in your zone.**

Instead of interrupting your thought process to dig through interfaces, you can jump straight into the content, make the update, and continue coding.

It’s small, focused, and intentionally minimal — just enough features to make your life easier without overloading your editor.

## When Will You Use It?

- Updating documentation inside your repo
- Editing MDX components with instant preview
- Making small content tweaks during development
- Collaborating with teammates who work across both tools
- Keeping everything in sync without opening extra tabs

If your workflow touches Markdown or MDX, this extension quickly becomes second nature.

## Wrap Up

The VS Code Extension is our way of making Content Island even more connected to your day-to-day workflow.
It keeps your content close, your tools unified, and your editing flow uninterrupted.

We hope it makes your work a little smoother — and a little more enjoyable.

**Give it a try, and let us know how it feels in your workflow.**
Publish, and here’s our second post.
⚠️ Heads up! If you open the new post, you’ll get a 404 error.
Why? Because to generate posts, Astro calls getStaticPaths, and it runs when we execute npm run dev. If we want it to pick up the new post now, we need to stop the server and start it again. Important: this only happens in development — it doesn’t happen in production.
Stop the server (ctrl + c in the Visual Studio console) and run npm run dev again. Go back to the browser, refresh and…

Customizing the tech stack.
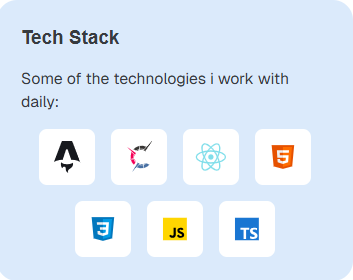
We already have the hero, and we fill it on the home page — it’s the same mini card but placed inside a hero. The tech stack is the first thing we’ll change.
In the Tech Stack card, I’m going to add the icons for the technologies I work with the most.
Here I have:
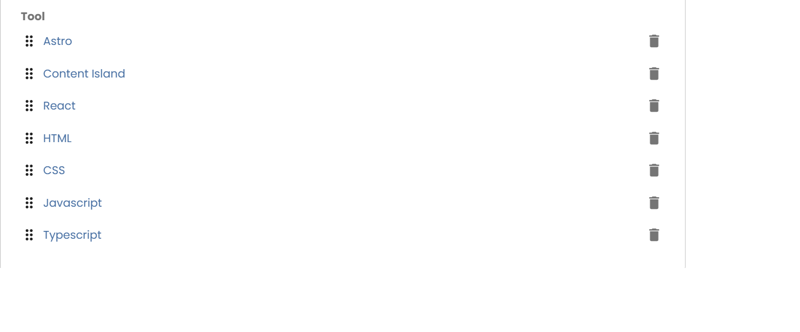
- Tool Section (list)
- Tool (single)
In the tool collection I delete .net, git, SQL Server.
I keep HTML, css, JavasCript, TypeScript, React, and I move React to the very top.

And I want to add two new ones: Astro, Content Island (we add the icon in SVG).
Name
Astro
And add another one:
Name
Content IslandGo to the tool collection to check the order (put Astro and Content Island at the top).
Since we made several changes, click Bulk Publish.
And publish.

Let’s see how it looks: refresh and we’ll see the updated tech stack list.
Customizing the contact section.
Now let’s update the contact area.
description
Got questions about Content Island or headless CMS setups? Or maybe you're planning to kick off a new project? Just reach out — I'd love to chat and see how I can help.
Publish.
Refresh and here’s the updated text.

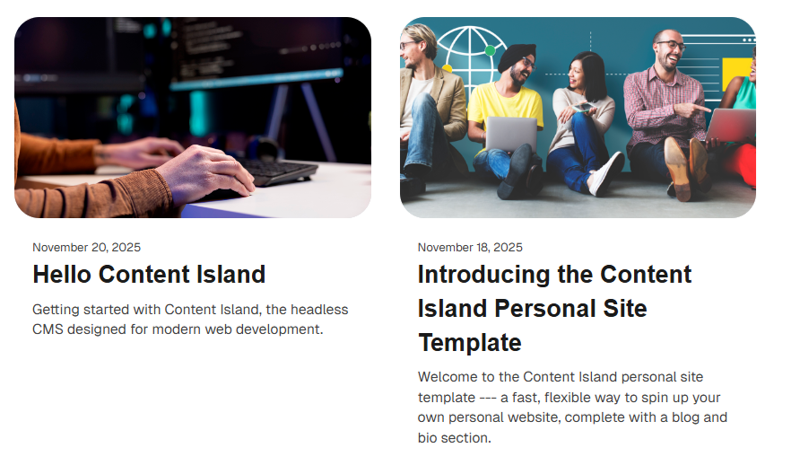
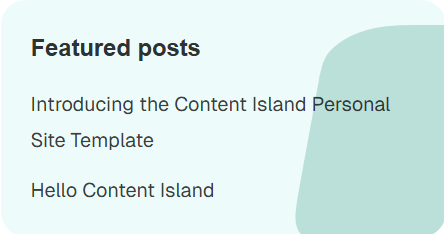
Customizing the featured posts list.
Go to the featured posts section.

Publish.
Go to the page, refresh, and you’ll see both posts in the featured section.
Customizing the work experience section.
Let’s go to the experience area, remove all that fake experience, and add real information.
A quick note: if I delete from the experienceCollection field, I delete the relationship; if I delete from the tree, I get the option to delete the relationship and the object. Since these are fake experiences, we’ll delete them entirely.

The checkbox you see checks whether that BluePixel experience (for example) is used elsewhere. If it’s only used here, we can safely delete it.
Do the same for the rest.
Once you’ve deleted all entries from experienceCollection, you’ll see a warning icon indicating the list can’t be empty.
Now let’s add real entries.
Name
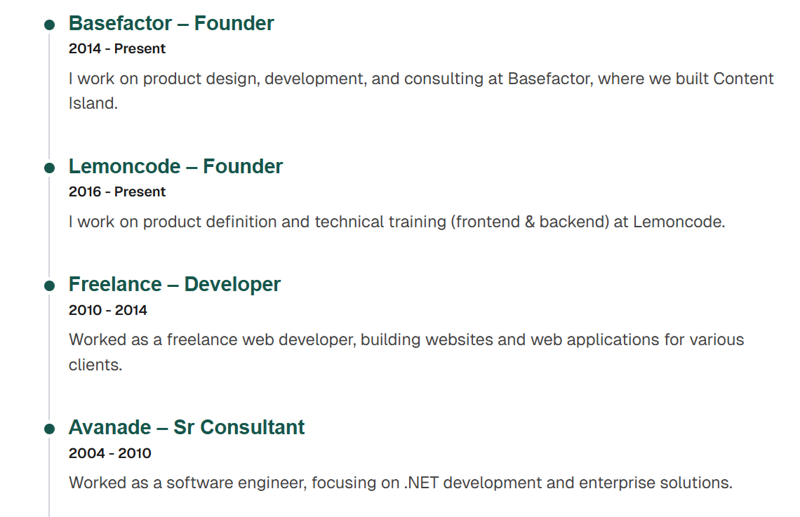
BasefactorCompany
BasefactorRole
FounderPeriod
2014 - PresentDescription
I want on product design, development, and consulting at Basefactor, where we built Content Island.Add more entries.
Name
LemoncodeCompany
LemoncodeRole
Founderperiod
2016 - Presentdescription
I work on product definition and technical training (frontend & backend) at Lemoncode.Name
FreelanceCompany
FreelanceRole
DeveloperPeriod
2010 - 2014Description
Worked as a freelance web developer, building websites and web applications for various clients.Name
AvanadeCompany
AvanadeRole
Sr ConsultantPeriod
2004 - 2010Description
Worked as a software engineer, focusing on .NET development and enterprise solutions.Name
Holte GroupCompany
Holte GroupRole
DeveloperPeriod
2001 - 2004Description
I helped develop Prosjekt Senter and Baseline at Holte Group, focusing on integrations and plugin-based product architecture.Name
Global TeleworkingCompany
Global TeleworkingRole
DeveloperPeriod
2000 - 2001Description
I developed a building surveillance system and designed a platform for project management.Name
Start AGCompany
Start AGRole
Junior DeveloperPeriod
1998 - 2000Description
I contributed to a content authoring and publishing system, focusing on image browsing, document viewing, and optimized handling of compressed files.Name
Noria worksCompany
Noria worksRole
Game developerPeriod
1996-1997Description
Game developerName
Softmail / SitelsaCompany
Softmail / SitelsaRole
Shareware developerPeriod
1990-1996Description
Shareware developer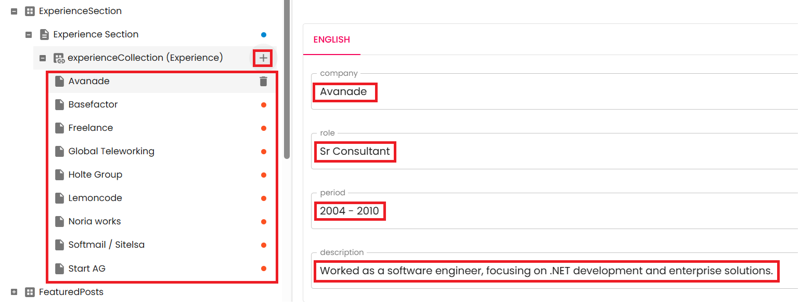
Click Bulk Publish.
Publish.

Now let’s see how it turned out.
Customizing the site metadata.
Let’s change our website’s metadata.
homeTitle
Braulio's sitehomeDescription
A personal site about web development, headless CMS, and more.Add a new favicon.
About Description
Learn more about Braulio, his experience, and the tools he uses.AboutTitle
Braulio's Blog
Publish.
Refresh and you’ll see the updated info.
Finally, let’s finish by theming the site.
Theming our blog.
In this section we can change the colors and fonts of our site. Here we’ll simply change the primary and secondary colors.
Go to the Theme section in Content Island.
Primary
#265887Secondary
#A12D55
Publish.
Refresh and you’ll see the site with the new colors.

Deployment.
And if you want to see how to deploy this project to Vercel and connect it to a webhook so the site updates automatically when you publish changes in Content Island, on our YouTube channel you can find a video that explains it step by step.
I hope you liked this template.