Intro
When we create a project with Astro and want to integrate it with Content Island, there are always a series of initial steps that we have to repeat: installing dependencies, configuring the connection with Content Island, preparing environment variables…
Since it is a rather repetitive task, we asked ourselves a very simple question: why not create a template that does all this for us? And that’s how the minimal Astro template for Content Island was born.
In this post we will see how it works and what it includes, if you prefer a video format, here it is...
Creation steps
The first thing is to create a new Astro project.
We call it "demo"
Instead of starting from scratch, we select the option to create the project from a template.
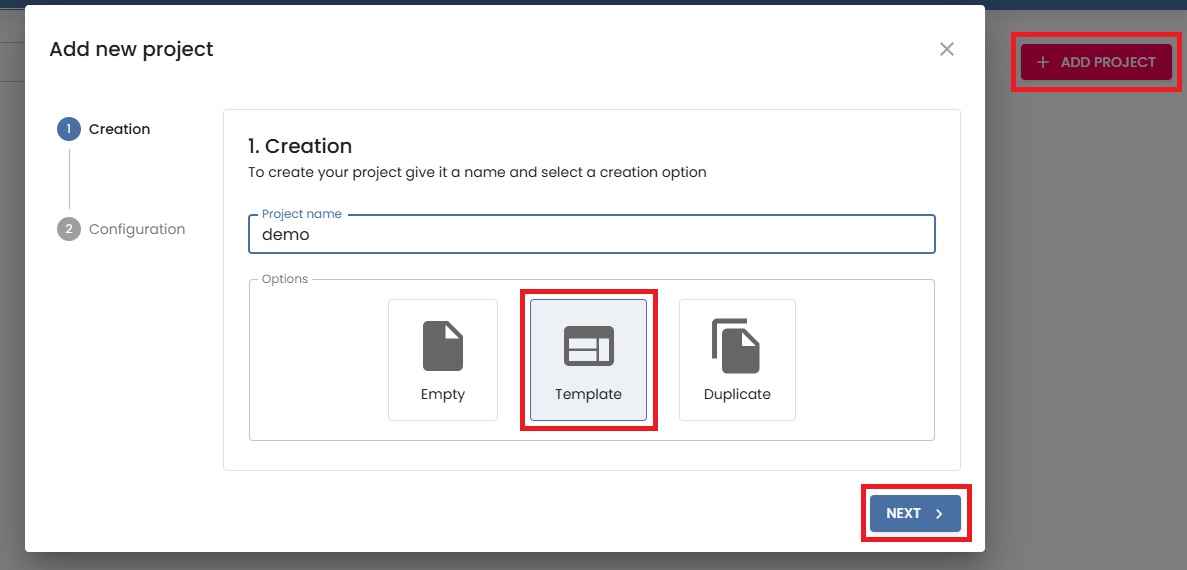
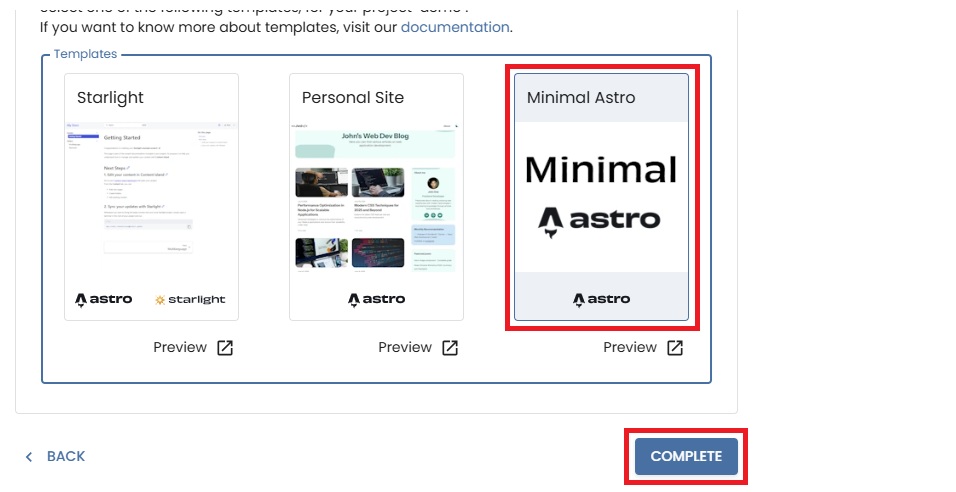
We choose the Minimal Astro template.
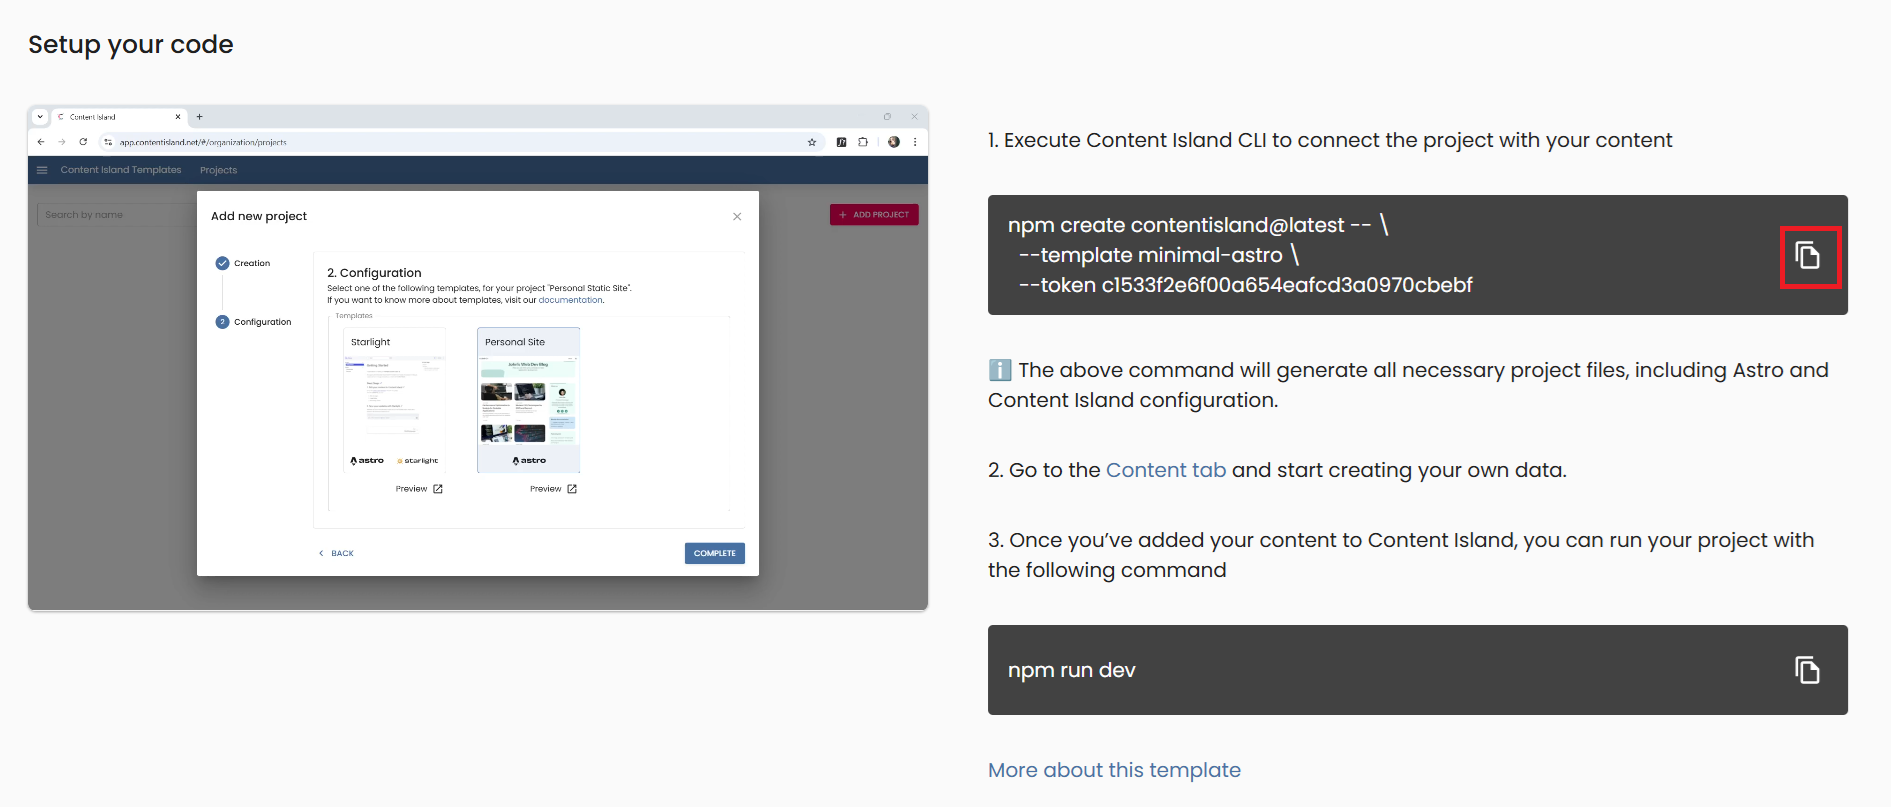
We copy the command we have in the Quick start tab
VSCode
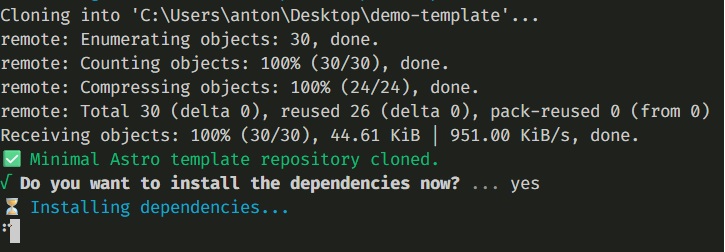
Now we go to Visual Studio Code. In my case, I have an empty folder open, and from the terminal I simply paste the command we just copied.
When executing it, the Content Island CLI launches, which will ask us a few very simple questions:
- First, we confirm that we want to run the CLI.

- Since we are already inside an empty folder, we indicate that the project destination will be "." (Otherwise, here we could indicate the folder name).
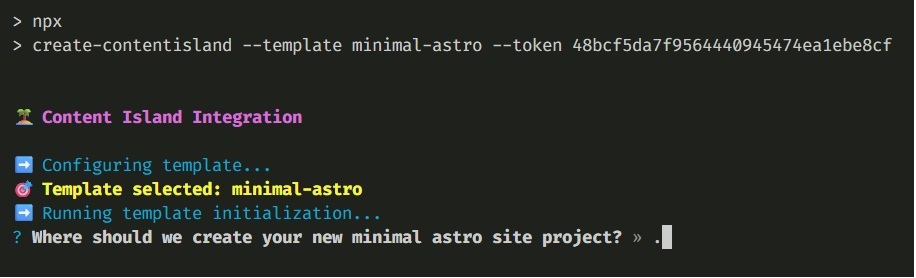
- And finally, we tell it to run npm install automatically for us.
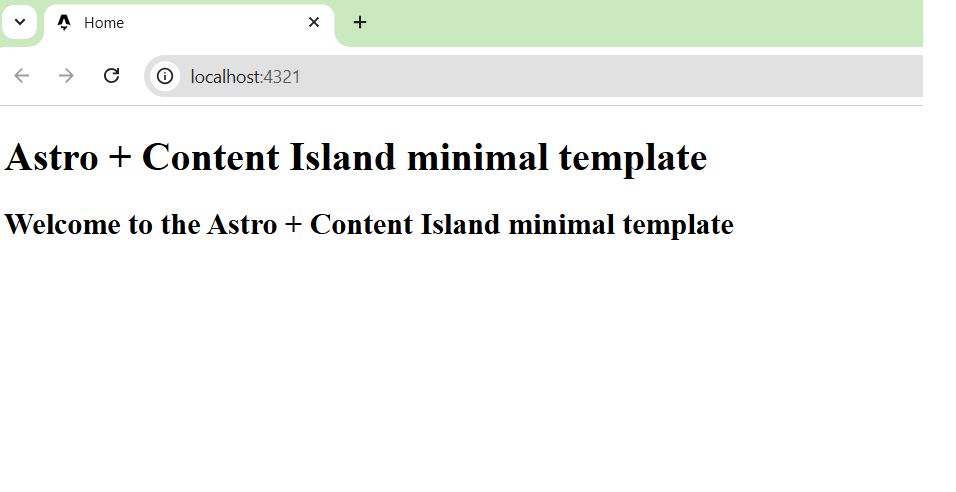
All that’s left is to run npm run dev, which starts the Astro development server, copy the address, and we already have a minimal Astro project integrated with Content Island up and running.
What the library includes
Now, let’s see exactly what this project includes:
The Content Island API library already installed and configured. package.json and lib
The access token, prepared as an environment variable. .env and astro.config.mjs
A basic example of how to use the library from an Astro component.
api and pod/component
- Prettier configured, including support for Astro files.
.prettierrc
- And aliases to the main folders, so imports are clearer and simpler.
tsconfig.json
From here, the next step is up to you: define your content in Content Island and start building your Astro project directly from Visual Studio Code, without wasting time on the initial setup.