Intro
When we launch a business or a startup, we need an online presence from day one: something professional, easy to maintain, and straight to the point.
That’s why we created the Business One Page template, which also includes multilingual support.
In this post we’ll introduce it, and you can also watch this video on how it works.
Template structure
The template is designed to present your business clearly and keep it running without complications.
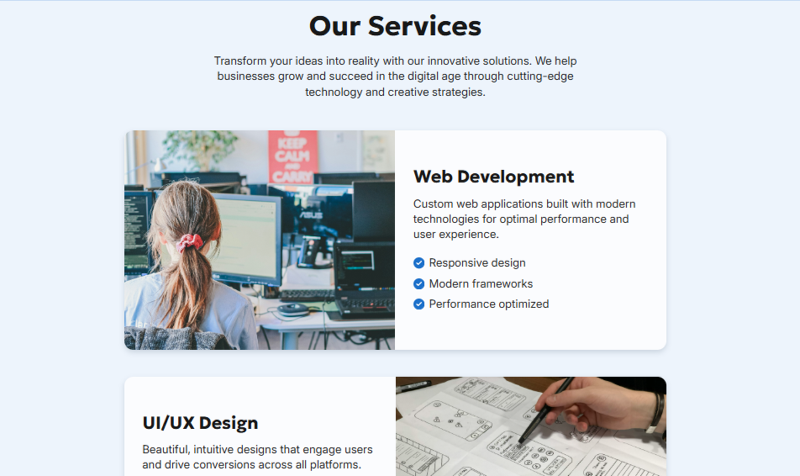
It starts with a Hero section, where we place the main message: a direct title, a subtitle that explains your value proposition, images, and a visible call to action to guide the user.

Next is the services section, designed to explain in a simple way what we offer, who it’s for, and what makes us different. It’s straightforward and easy to read.
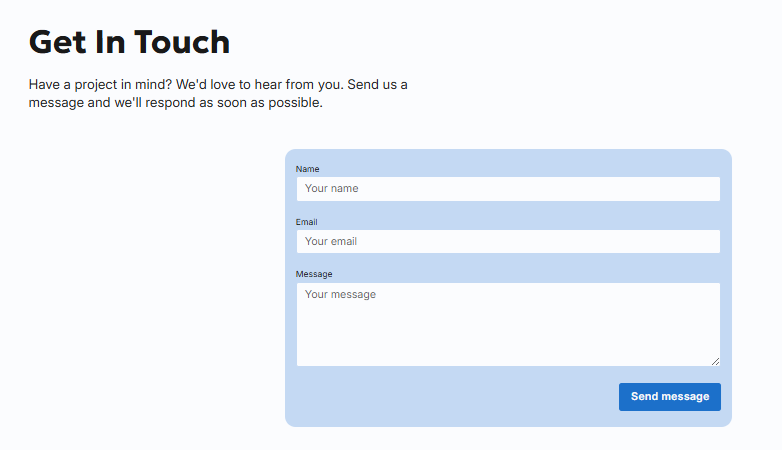
The next part is the contact section, with an integrated form so visitors can write to us without leaving the website.
In addition, the template includes a header and a footer:
- In the header we show the company name and basic navigation.

- In the footer you’ll find the company name, social links, and the privacy policy, which is a fully customizable page.

The whole design is responsive, adapts to mobile/tablet, and lets you customize colors and fonts to match your brand identity.
With this structure, you get the essentials—without noise or unnecessary complexity.
Creating the project from scratch
To create the project we start from Content Island.
If you don’t have an account, you can create a free one at contentisland.net.
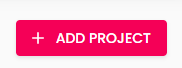
Once inside, click on Add project.
This will open a wizard that will guide you step by step.
First, give it a name and choose to create it from a template (in our case the name will be MyBusinessSite).
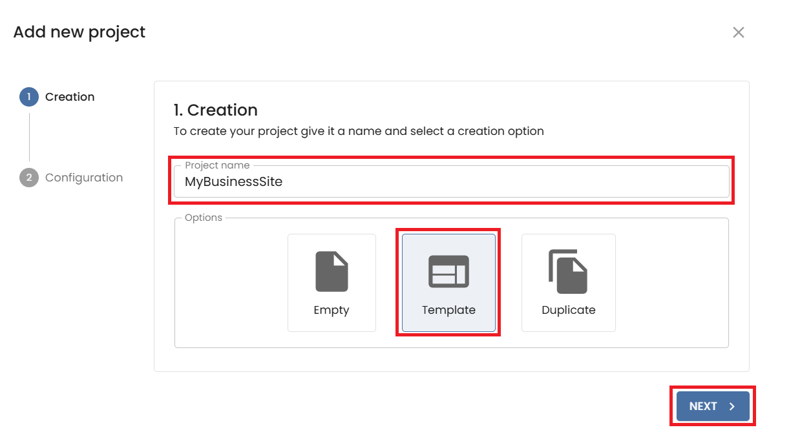
Select Business One Page and confirm.
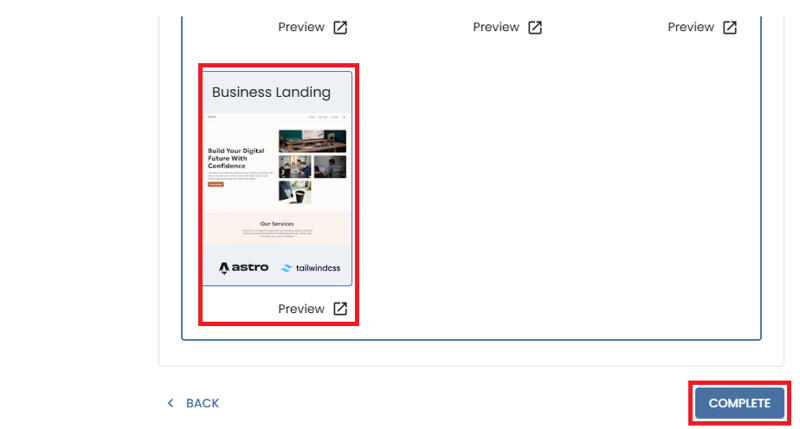
At that point, Content Island creates the project with the structure and sample content ready to customize.
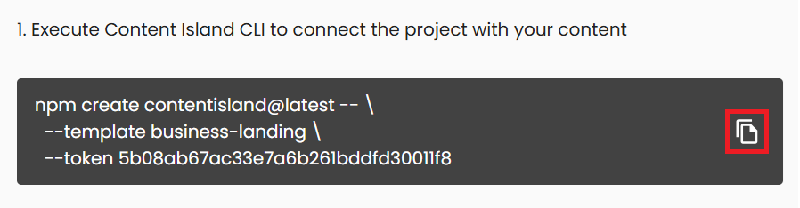
The template also provides the command to create the Astro solution and run it locally.
Copy the command and open Visual Studio Code.
Creating the solution in VS Code
In our case, we have VS Code open in the folder where we want to create the project.

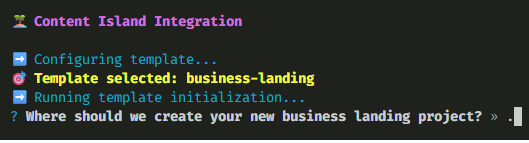
Open the terminal, run the command, and the Content Island CLI will ask a few questions:
Specify that the project should be created in the current folder using ".". If you want a subfolder, just enter the name of that folder.
It also asks if you want to install the project dependencies (if you don’t do it now, you can do it manually later).

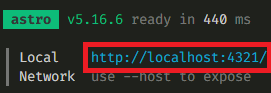
Then you just need to run: npm run dev

Open your browser at http://localhost:4321 and you’ll see the site running.
From here, the interesting part begins: customizing the content.
Favicon and metadata
Let’s start with the global settings.
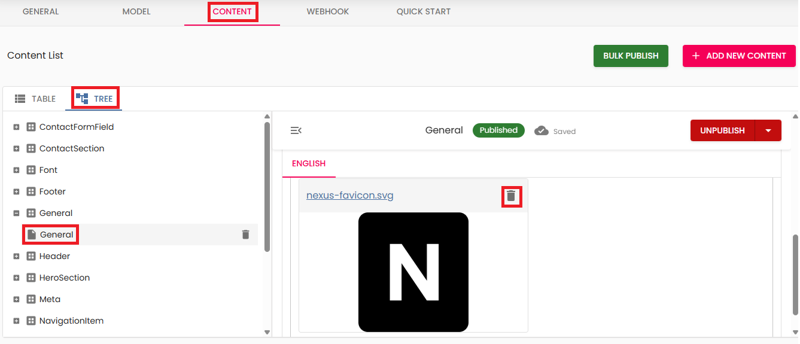
Go back to Content Island, select the Content tab and choose the General entry. For convenience, we’ll switch to the tree view and delete the sample favicon.
You can select your file from the file explorer or drag and drop it.
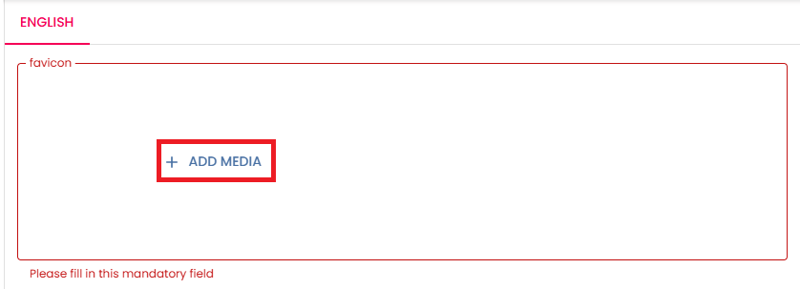
Now we change the website favicon to our logo (recommended in SVG format).
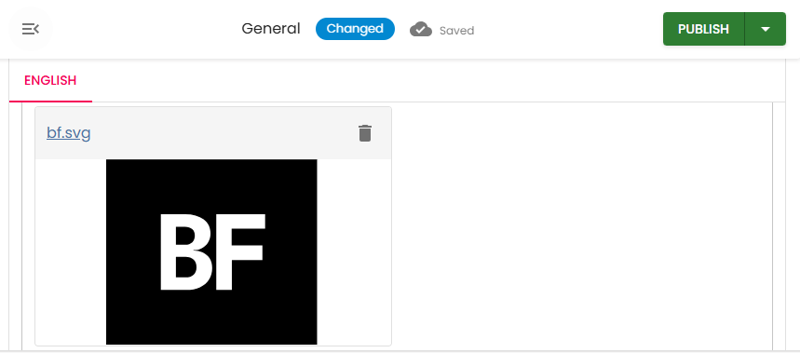
Publish the change.

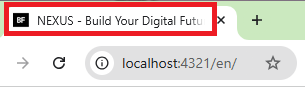
Go back to our site and refresh, and you’ll see the new favicon.
To change the page title, go to PageMeta, choose Home, and update:
Title
Basefactor - IT Consulting and Software Development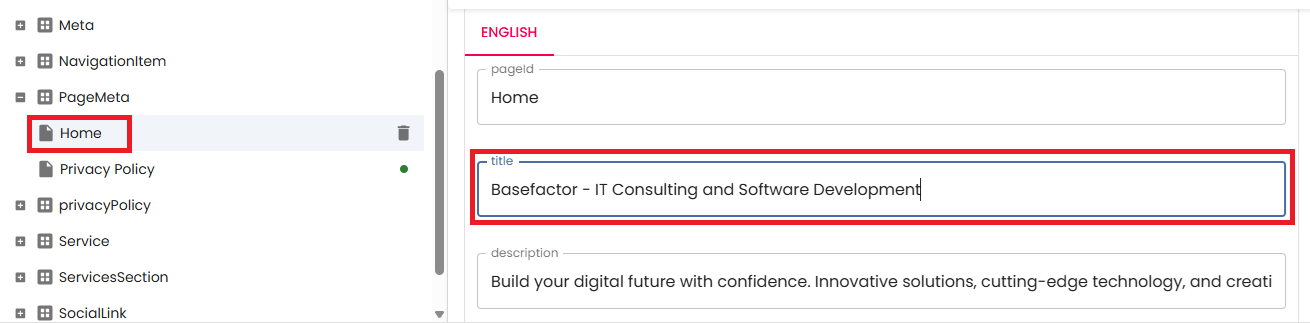
We’ll also change the SEO description:
Description
We are Basefactor, an IT consulting firm specializing in software development and content management. Discover our customized solutions and services to elevate your projects.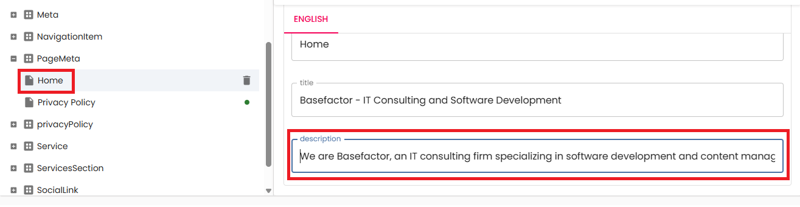
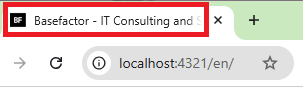
Publish.

Refresh and you’ll see the page title has changed.
Update the Header
Instead of showing Nexus, we can display our company name.
Go back to Content Island, stay in the Content view, and select the Header entry, inside Brand Navigation.
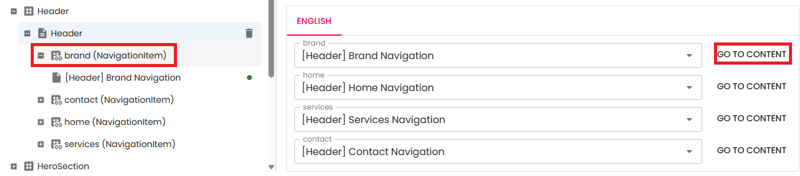
Change the name to your company name, in this case Basefactor, and publish the changes.
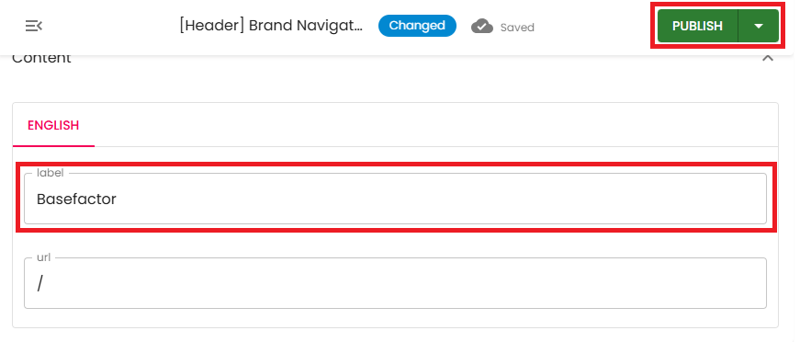
Refresh, and you’ll see the change in the header.

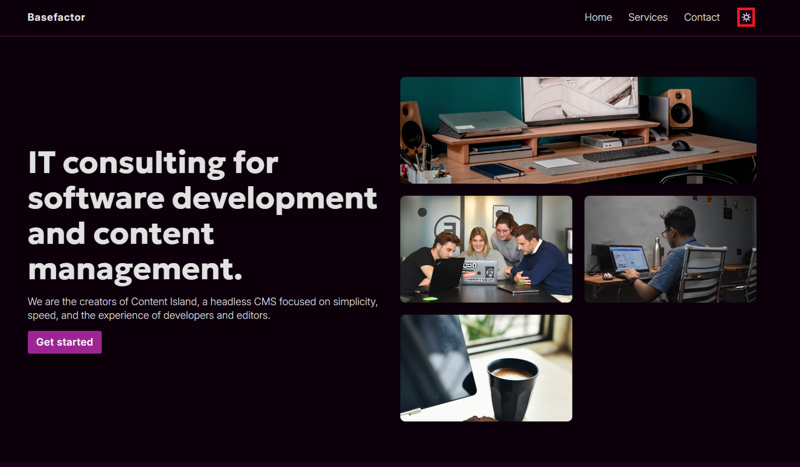
Hero Section
Here we modify the main title and subtitle to clearly reflect what we do.
Title
IT consulting for software development and content management.Subtitle
We are the creators of Content Island, a headless CMS focused on simplicity, speed, and the experience of developers and editors.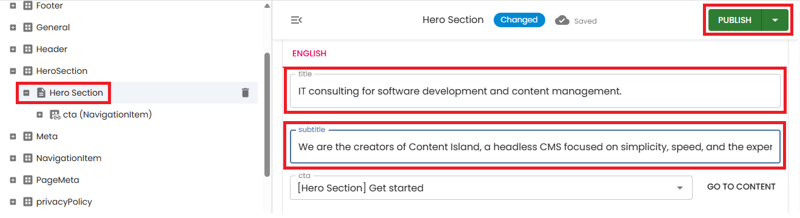
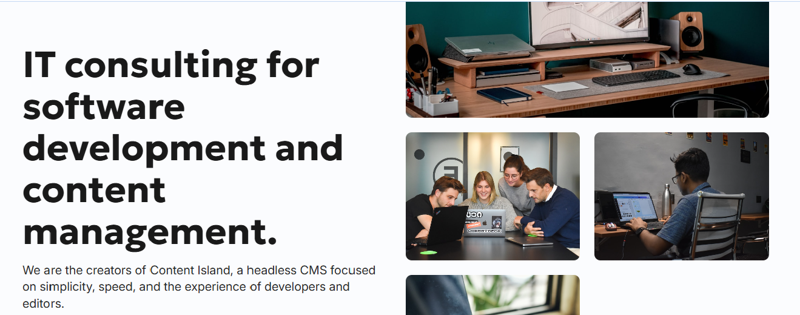
The images can also be changed, although in this case we’ll leave them as they are.
Go back to our site, refresh, and our hero section is ready.
Services Section
Here we’ll change the services description and delete all existing services so we can add our own.
Go to ServicesSection and you’ll see the list of services.
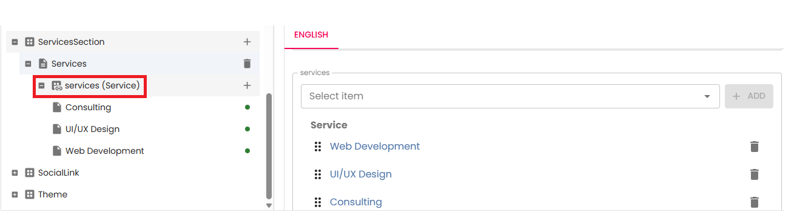
Delete the services—when prompted, we’ll check that we want to delete the content as well. Do the same for the rest:

If you look closely, Services now shows an exclamation mark—why? Because at least one service must exist.
Now let’s edit the entry for a service section.
Change the description field to the following:
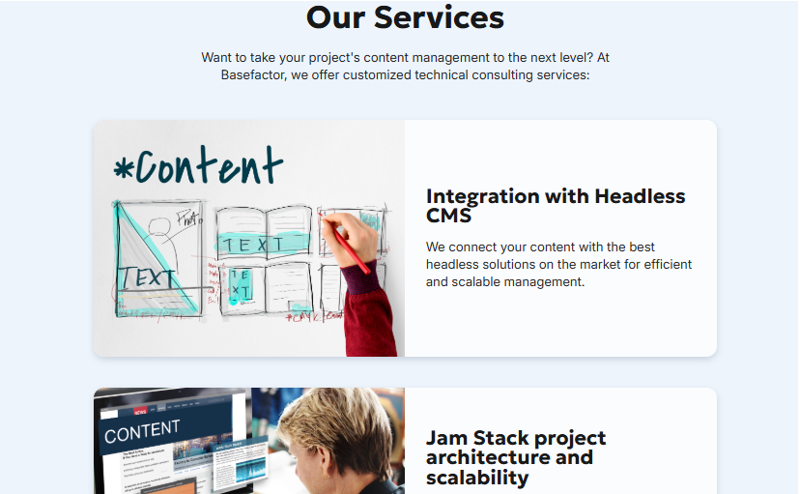
description
Want to take your project's content management to the next level? At Basefactor, we offer customized technical consulting services: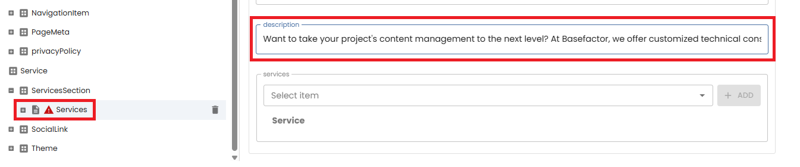
Now let’s create services.
Name
Integration with Headless CMS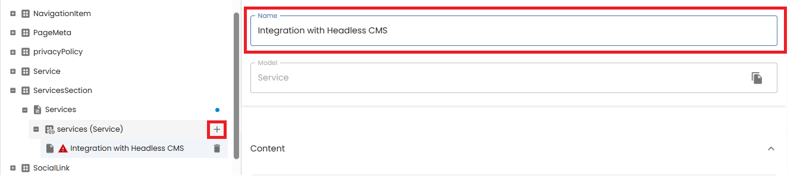
Title
Integration with Headless CMSDescription
We connect your content with the best headless solutions on the market for efficient and scalable management.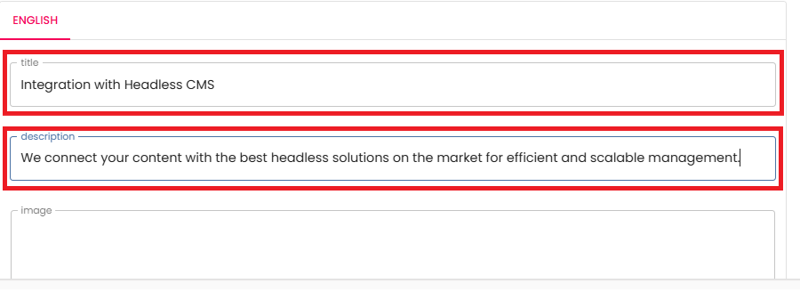
alt
Integration with Headless CMS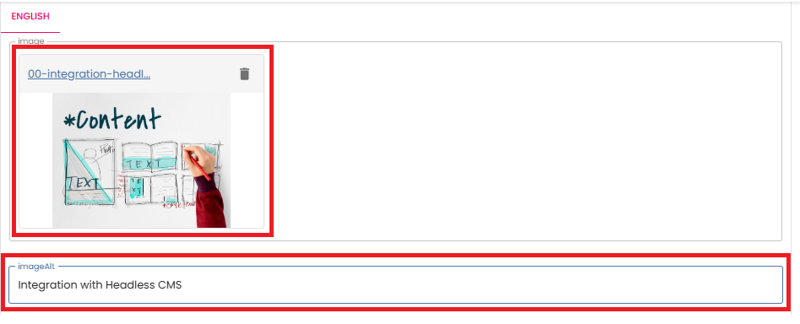
In features we can highlight a bullet list that summarizes the service we offer; in this case we leave it blank. And in reverse layout, we’ll see we can choose whether the image appears on the left or right. We’ll come back to that later once we have all services.
Add three more services:
Name
Jam Stack project architecture and scalabilityTitle
Jam Stack project architecture and scalabilityDescription
We design robust, scalable architectures following JAMstack best practices for maximum performance.alt
Jam Stack architectureName
Automation of content workflowsTitle
Automation of content workflowsDescrition
We optimize and automate your content processes to enhance team productivity and reduce manual tasks.Name
Development of Front Ends connnected to Content IslandTitle
Development of Front Ends connnected to Content IslandDescription
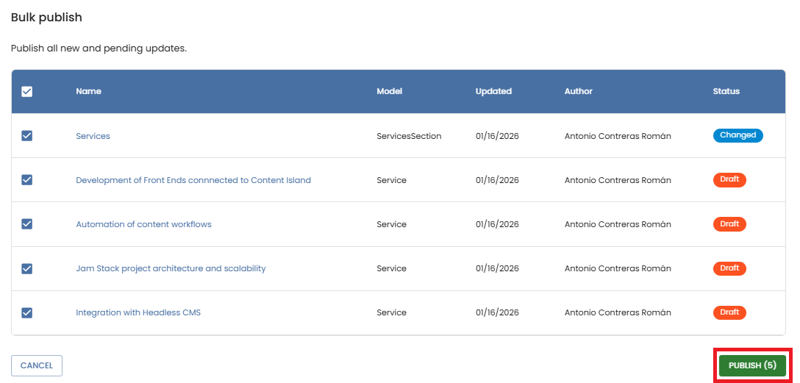
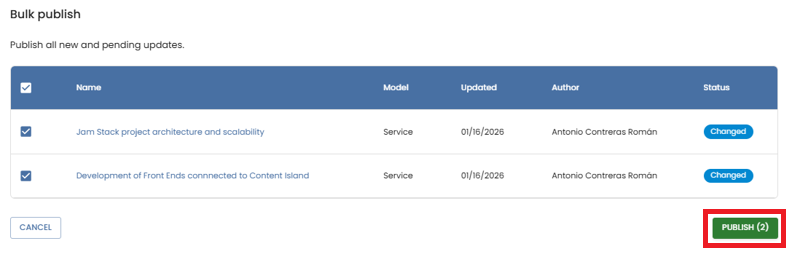
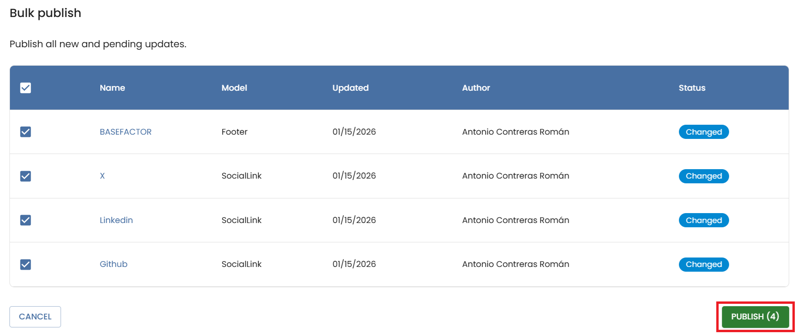
We create modern, responsive interfaces seamlessly integrated with your content architecture.That’s it. This time we have several changes pending publication—each new service and the services section that contains the list. Publishing changes one by one would be tedious and it’s easy to forget one, so we’ll use Bulk publish. Click the button:
Here you can see all pending changes and publish them.
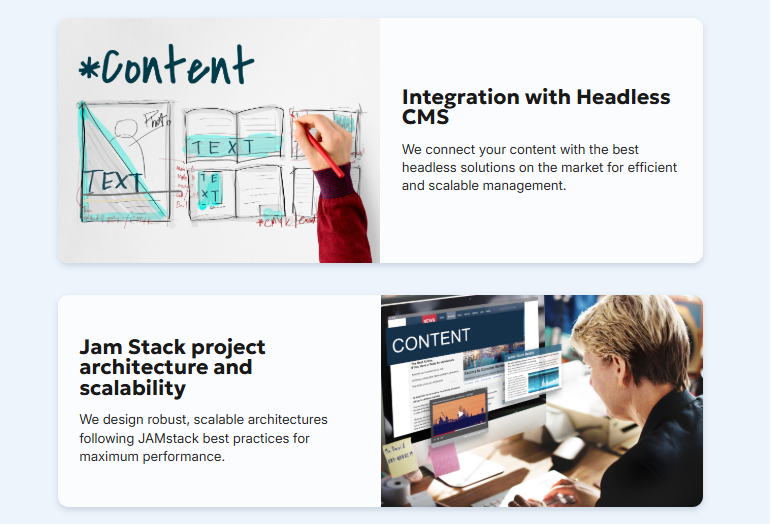
Go back to the browser and you’ll see the services section updated.
There’s just one small detail: the list looks pretty boring. Let’s play with image position. To do that, go back to Content Island and alternate image positions—put the even ones on the right.
Set the
reverse layoutproperty to true for services 2 and 4; the rest stays false.

Bulk publish again and check the result.
Now go back to the website and refresh:
And you’ll see the images alternating.
Contact Section
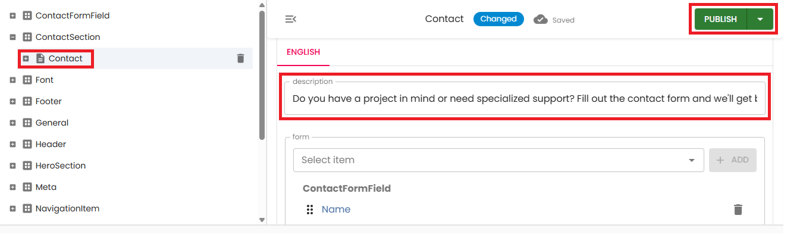
Here we’ll change the main message. Go to Contact Section and update the description to:
description
Do you have a project in mind or need specialized support? Fill out the contact form and we'll get back to you as soon as possible.Publish:
Go back to the browser and refresh:

For this Contact Form, we left the sending functionality blank so you can choose the service that suits you best. If you’re not sure which one to use, here’s a post that explains how Resend works and how to integrate it into your Astro project:
Contact forms in Astro with server actions and Resend
Footer
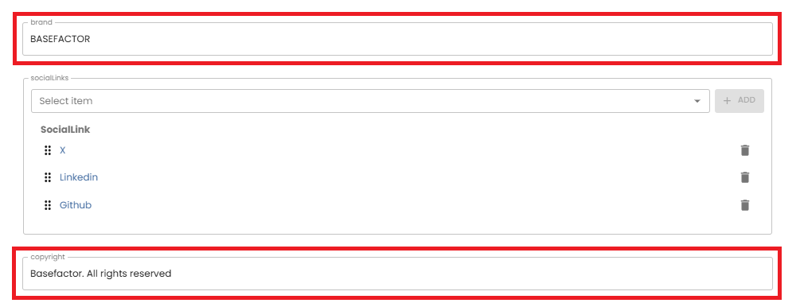
In the footer we configure the company name, social links, and the copyright.
Name
BASEFACTOR
Social networks: LinkedIn, X, GitHub (we’ll use Content Island’s).
https://www.linkedin.com/company/content-island-hcms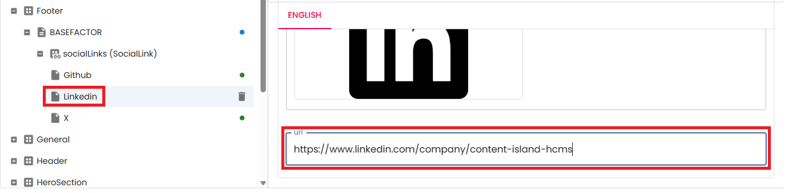
X
https://x.com/content_island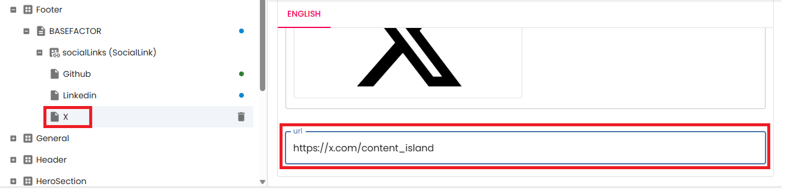
Github
https://github.com/content-island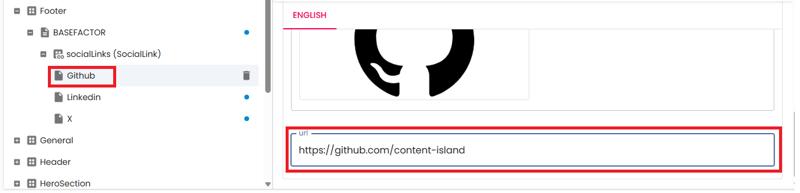
We could also remove and add entries (for example, Instagram): add the SVG, add the URL, and you’re good to go.
For copyright, we set basefactor.
Let’s bulk publish, since we modified more than one entry.
Refresh and you’ll see the company name.
You can navigate to the different social links and you’ll also see the copyright
Privacy Policy
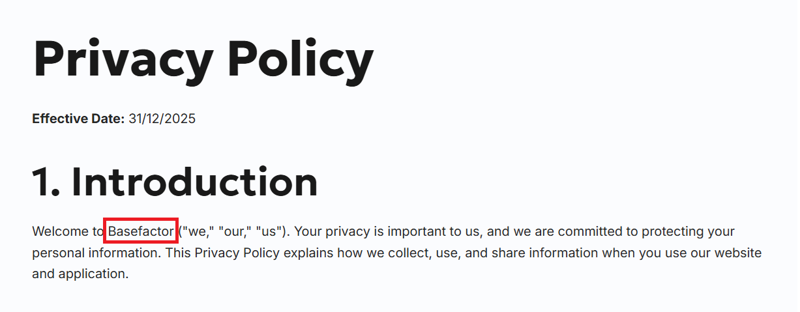
The privacy policy is an editable page. In this case we only change the company name, although ideally you should use your business’s real legal text.
We’ll change the name from Content Island to Basefactor, but we can include images, headings, bold text, etc. Once we have the changes, we publish.

Refresh in the browser and you’ll see the change.
Theming
Here you may want to adapt the site to your brand identity—colors, fonts...
Go to the Theming section where you can change the primary color and typography.
Here we update the primary color (#9d2593).
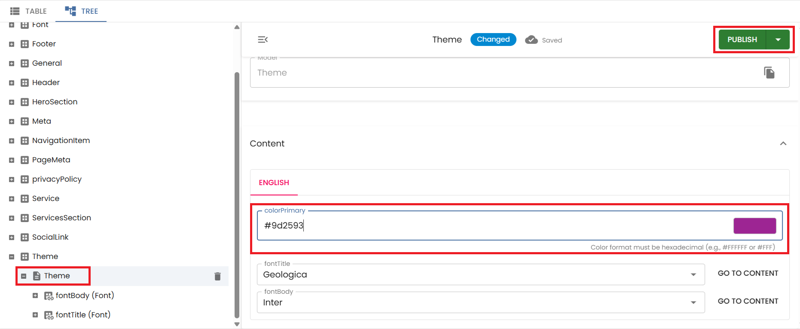
And we check how it looks in light mode:

And in dark mode:
In the documentation there are already-tested color combinations that work especially well. Business landing documentation
Multilingual
As a final touch, if you have the Pro plan or higher, you can enable support for multiple languages.
For example, we add Spanish from the General section.

And click save button.

Go to Visual Studio Code, restart the dev server, and in the browser—within the footer section—you’ll see the new language added.

But if you look, the translated text isn’t the same—it’s the default Spanish text. How can we change it quickly? Go back to Content Island’s Content section and, for example, translate the HeroSection.
Select the Spanish tab, and using Smart Copy, set the target language to English and translate the content.
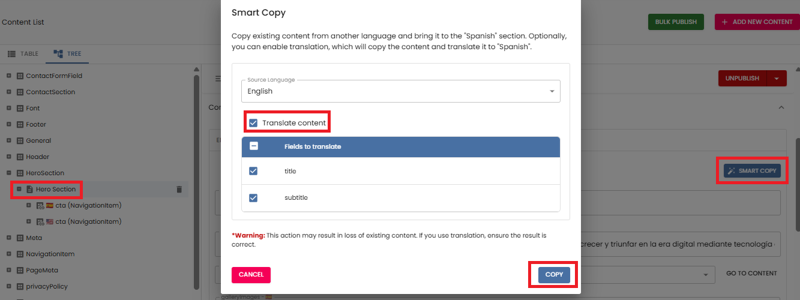
Save the changes.
And here we have a first version ready to review. Go to the browser to check the changes.
Deployment
And if you want to see how to deploy this project to Vercel and connect it to a webhook that allows the site to update automatically when you publish changes in Content Island, you can find a video on our YouTube channel that explains it step by step.