🎧 Intro
Hi! In this post, we present a preview of Content Island's MCP, a tool that allows you to connect AI assistants with the content you manage centrally in Content Island.
Let’s see how it works through a practical example.
Materials to Follow Along
The video where you'll find the step-by-step guide:
How to generate a website with your AI using Content Island
The Content Island MCP is available at:
Access token for the sample project data:
f38a94366651cc72879e0d71cfd339d4Images to follow along (right-click to open in a new tab or download):
Step 1 - training list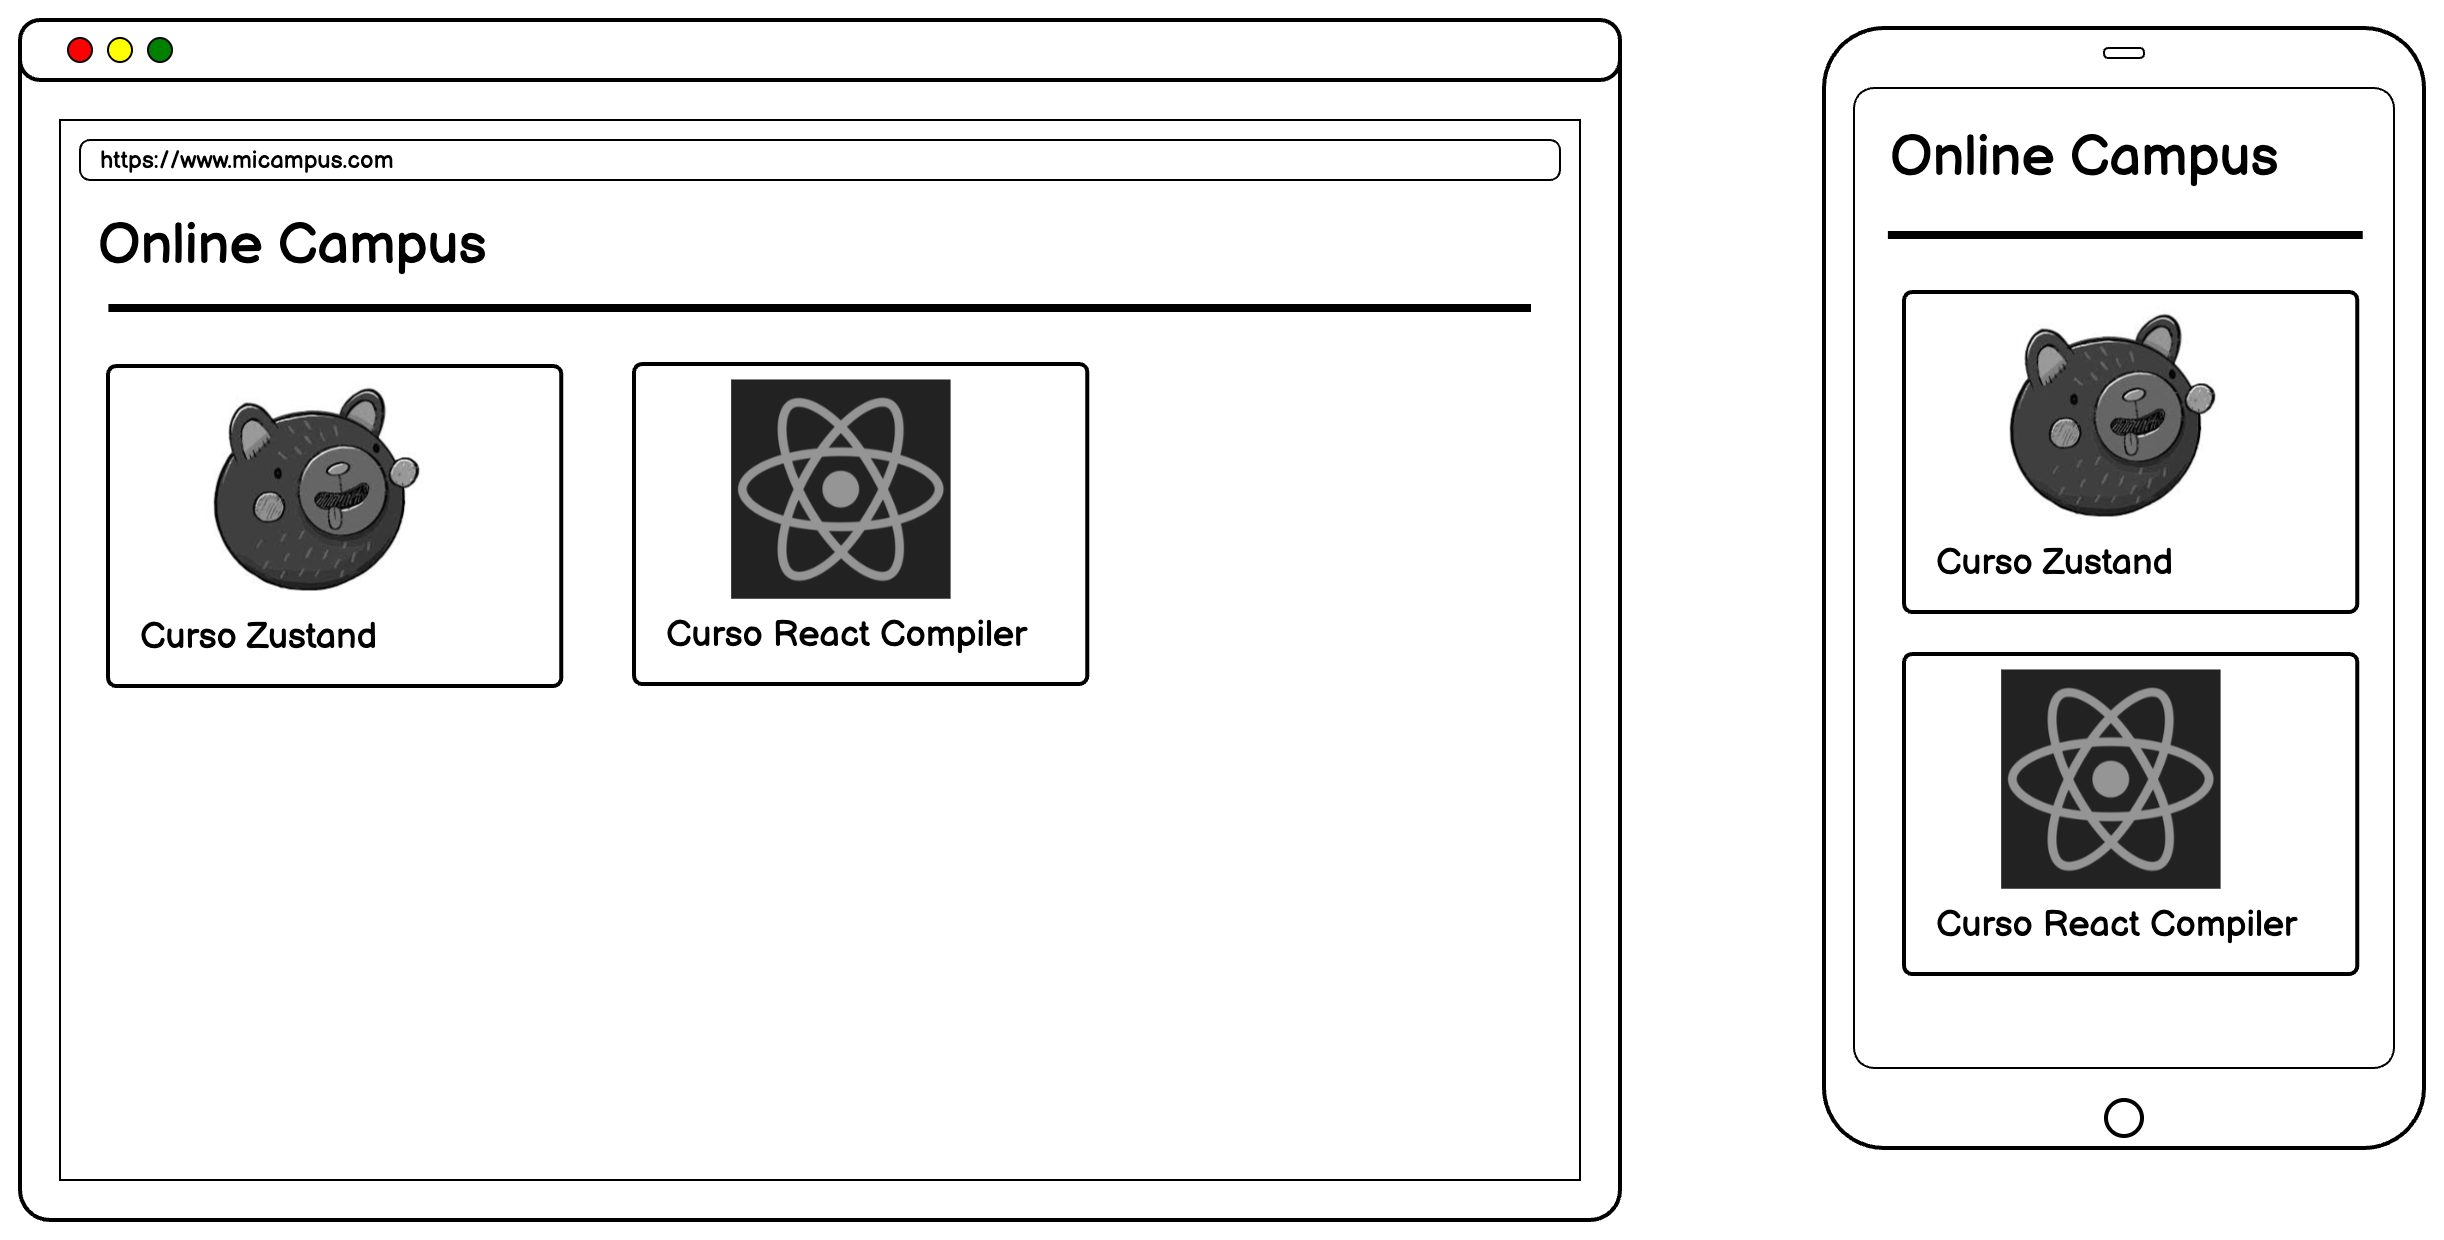
Step 2 - training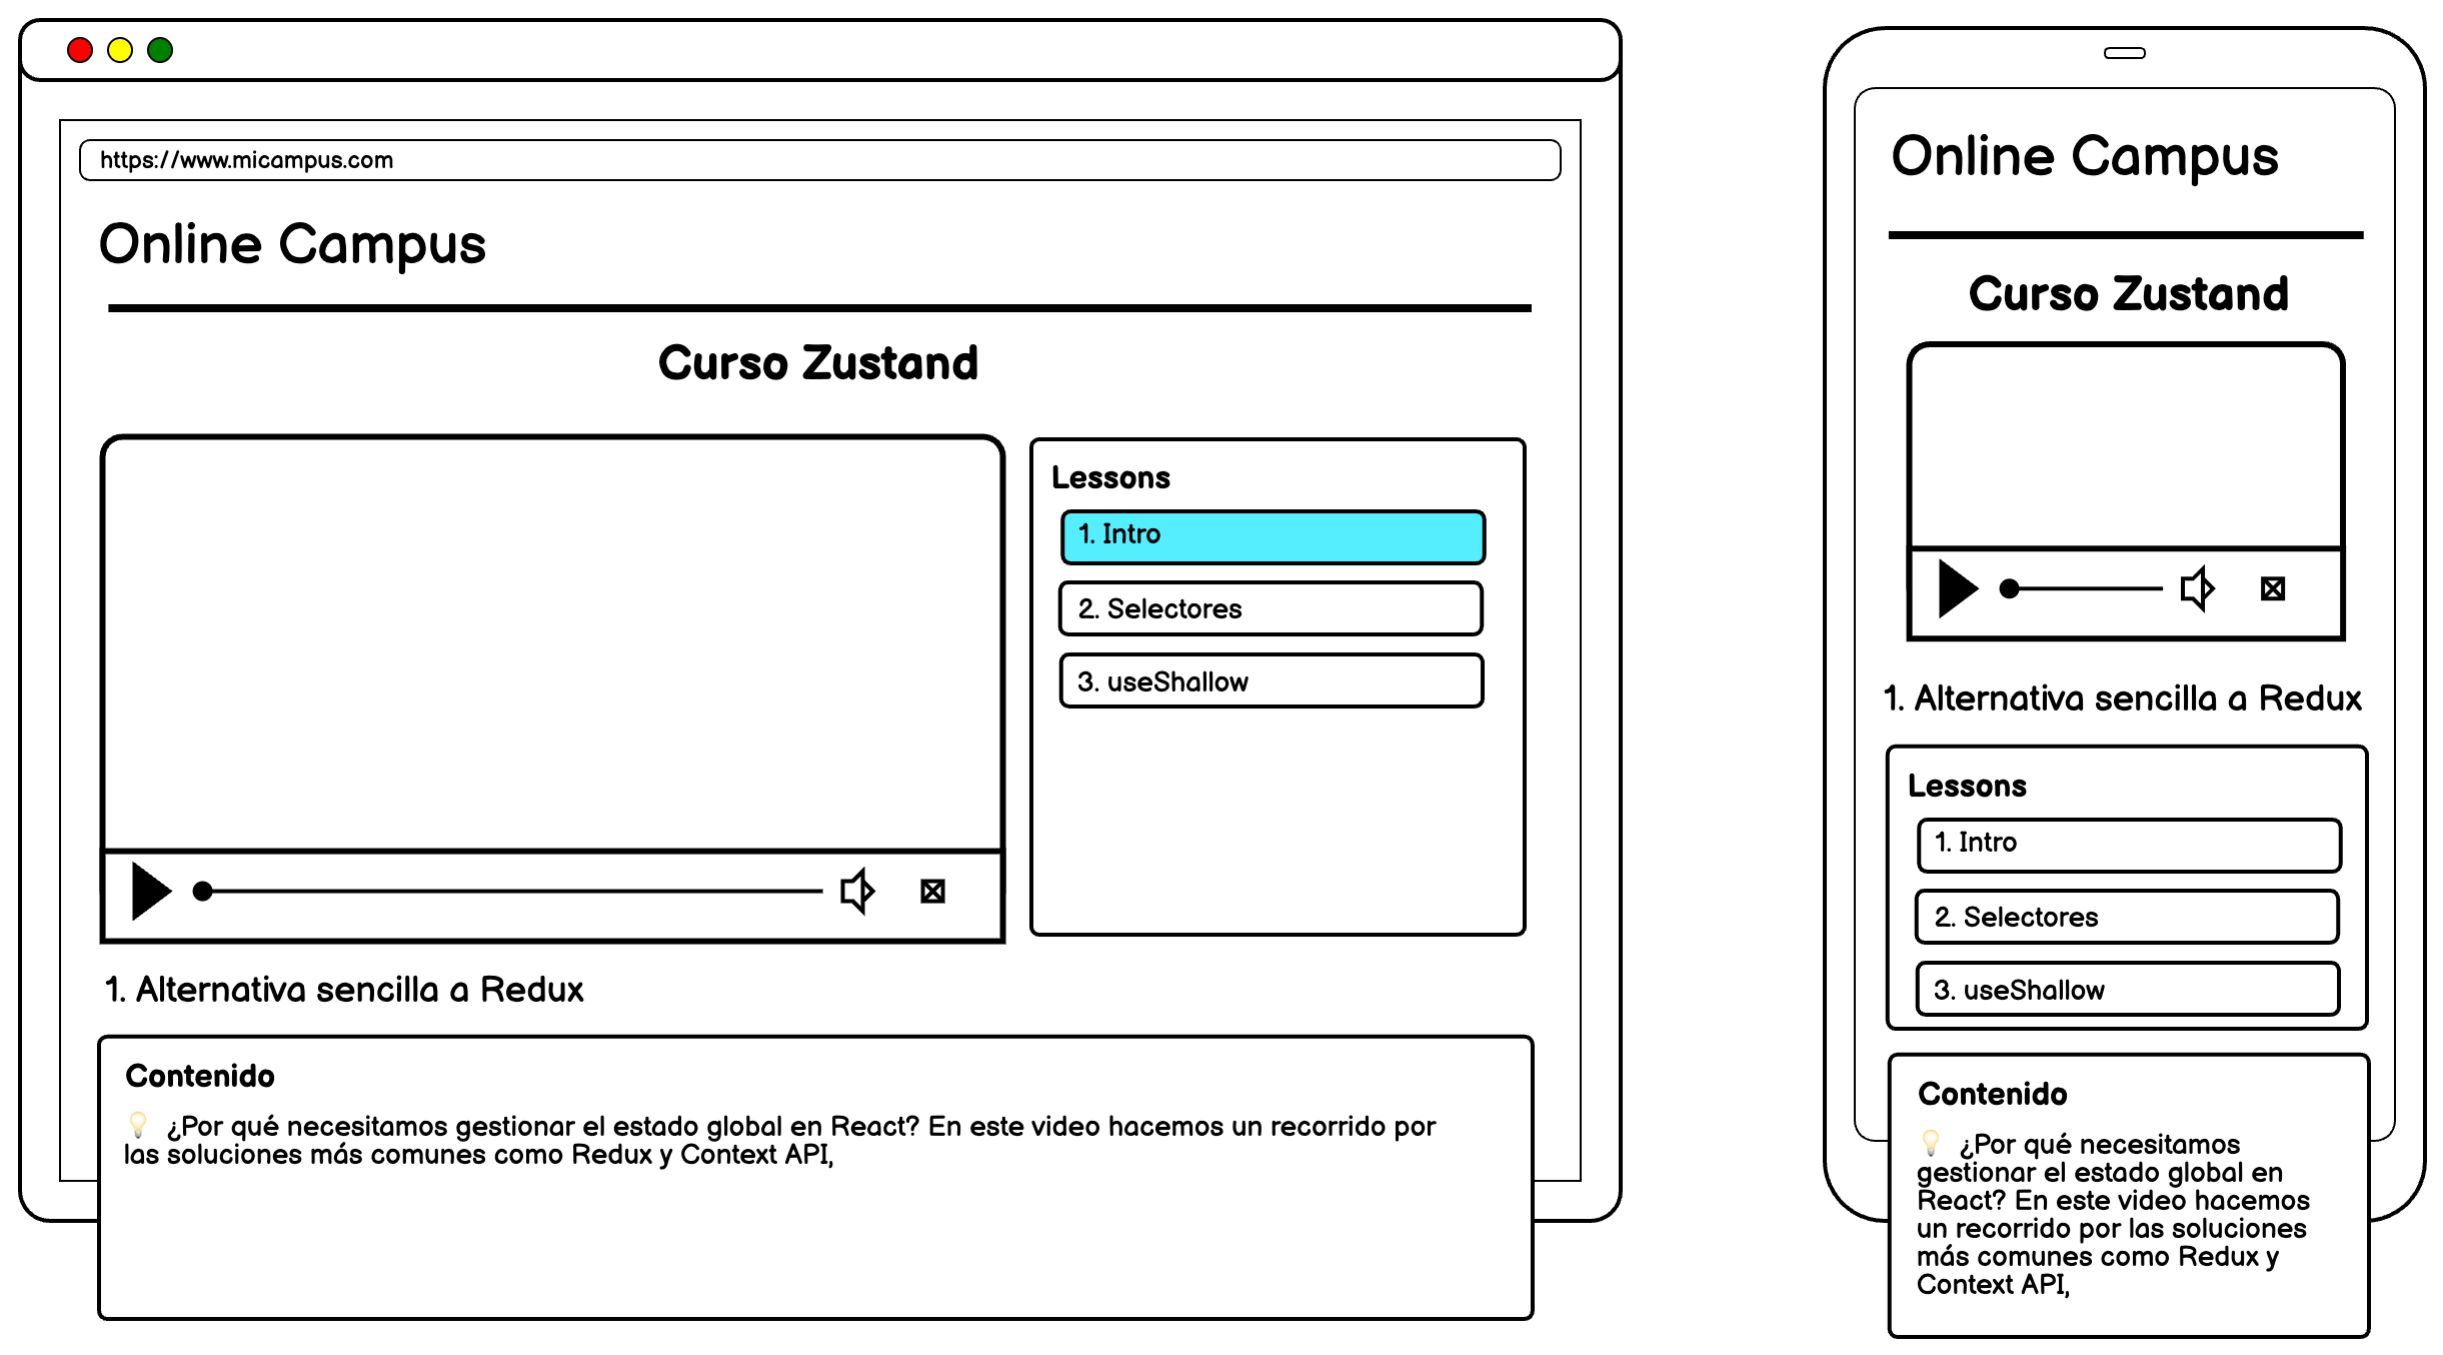
💡 Use Case
Imagine you want to develop a website with Astro to display a list of courses. When you click on one, you can see the course details, the current lesson video, and a list of lessons.
We’ve created a low-fidelity prototype using Quick Mock.
Here, we can see a list of courses. Clicking on one takes you to the course detail page, where you can watch the current lesson video, view the accompanying guide, and browse through the list of lessons.
The data comes from Content Island, specifically from a project called Campus.
This project includes the models for courses and lessons, with example data already loaded.
We'll show you how to integrate Content Island with GitHub Copilot in VSCode, generating the web app based on these basic wireframes.
⚙️ Prerequisites
You need:
- GitHub Copilot installed and configured in Visual Studio Code.
- An existing Content Island project with some sample data loaded—in this case, the Campus project. We've provided a token so you can try it yourself.
🔌 Step 1: Install the Content Island MCP
Go to:
You can install the package directly in VSCode or manually via your editor’s settings.
Once installed:
- Add your project token in the MCP settings.
Campus project token:
f38a94366651cc72879e0d71cfd339d4- Start it by clicking the Start button.
🤖 Step 2: Configure the Copilot Environment
- Open the GitHub Copilot chat in VSCode.
- Make sure you're in agent mode.
- Choose a compatible model, such as Claude.
Type / to view the available tools. Select Content Island MCP to begin guided setup.
🛠️ Step 3: Generate the Project
Answer the assistant’s prompts:
- Framework: Astro
- Location:
.(current folder) - Pages to generate:
- Training List Page
- Training Detail Page (with YouTube player and lesson list)
Training List Page, Training Detail Page (with YouTube player, one video per page, and lesson list clickable to navigate to that lesson detail page)💡 Be sure to specify you want one video player per lesson.
Attach the Quick Mock wireframes with the message: "mocks attached"
Add additional context information for the project:
The videos are YouTube links, so you'll need to display them using an iframe or something similar.

In the lesson entity from Content Island, the content field is a string but contains Markdown. Make sure to render it as Markdown on the screen and apply syntax highlighting to any code blocks.

In the lesson list, when clicking on a lesson, it should navigate to the detail page for that lesson and update the video and content to reflect the selected lesson.

The token for my Content Island project is: f38a94366651cc72879e0d71cfd339d4. Include it as an environment variable in the project.
🧠 Step 4: Interacting with the Assistant
During the process:
- It might ask for confirmations or to run terminal commands.
- If a step fails, you can ask it to retry.
- You can also instruct it to skip steps if needed.
This setup might take a few minutes.
🚀 Step 5: Run the Project
Once complete, run the project with:
npm run dev📦 The generated output won’t be perfect, but it can be an interesting starting point and provide useful components you can adapt.
🔄 Conclusion
You can now install the MCP and start exploring how to integrate AI assistants into your development workflows.
It's currently in Beta, but a more complete and stable version is coming soon.